Weekly Progress Update
We’re reaching the final stretch of the winter quarter, which also means wrapping up the capstone projects! Presentations are less than a week, and the capstone project showcase will be in May in “The Cloud,” which is some exciting stuff!
Since my last update, I’m happy to announce I’m officially done…ish! I finished 3D-printing the rest of my plates, including the title, my name, and colophon. Originally, I was using Google Docs to type my text, then turning that into an .SVG file, but for those three texts, I switched over to Affinity Publisher 2 to see if it would make a difference. Which it did! But I’m unsure what specifically made it easier for me to convert it. I would argue that the steps that moved from Google Docs to SVG may not have been efficient, which could have contributed to it.
When I was creating the 3D text for the poem in Google Docs, I would type the text, set the font, spacing, and size, then download it as a PDF, export the PDF to PNG, and then open the PNG in an SVG converter. While it worked for the poem’s text, when trying to follow the same process with the Temple title or the colophon, many details were missing because the text/font had more surface area than the poem's text. When everything I was troubleshooting wasn’t working, I pivoted to Affinity Publisher 2, specifically version 2.6.4. Having this version isn’t necessary; it’s just that I haven’t updated the software since November. Following similar steps in Google Docs, with the exception of adjusting the leading, the space between the lines of text (baseline to baseline), in hopes that more space would allow the SVG to come out cleaner and more legible. Another good thing about switching to Affinity was the ability to download the file as an SVG, eliminating the need to open a converter. After obtaining the SVG, I imported it into TinkerCad and continued business as usual. Creating the base, adjusting heights in mm, exporting it to the PrusaSlicer, and waiting for it to print.

An example of trying to convert the Google Docs text to SVG.
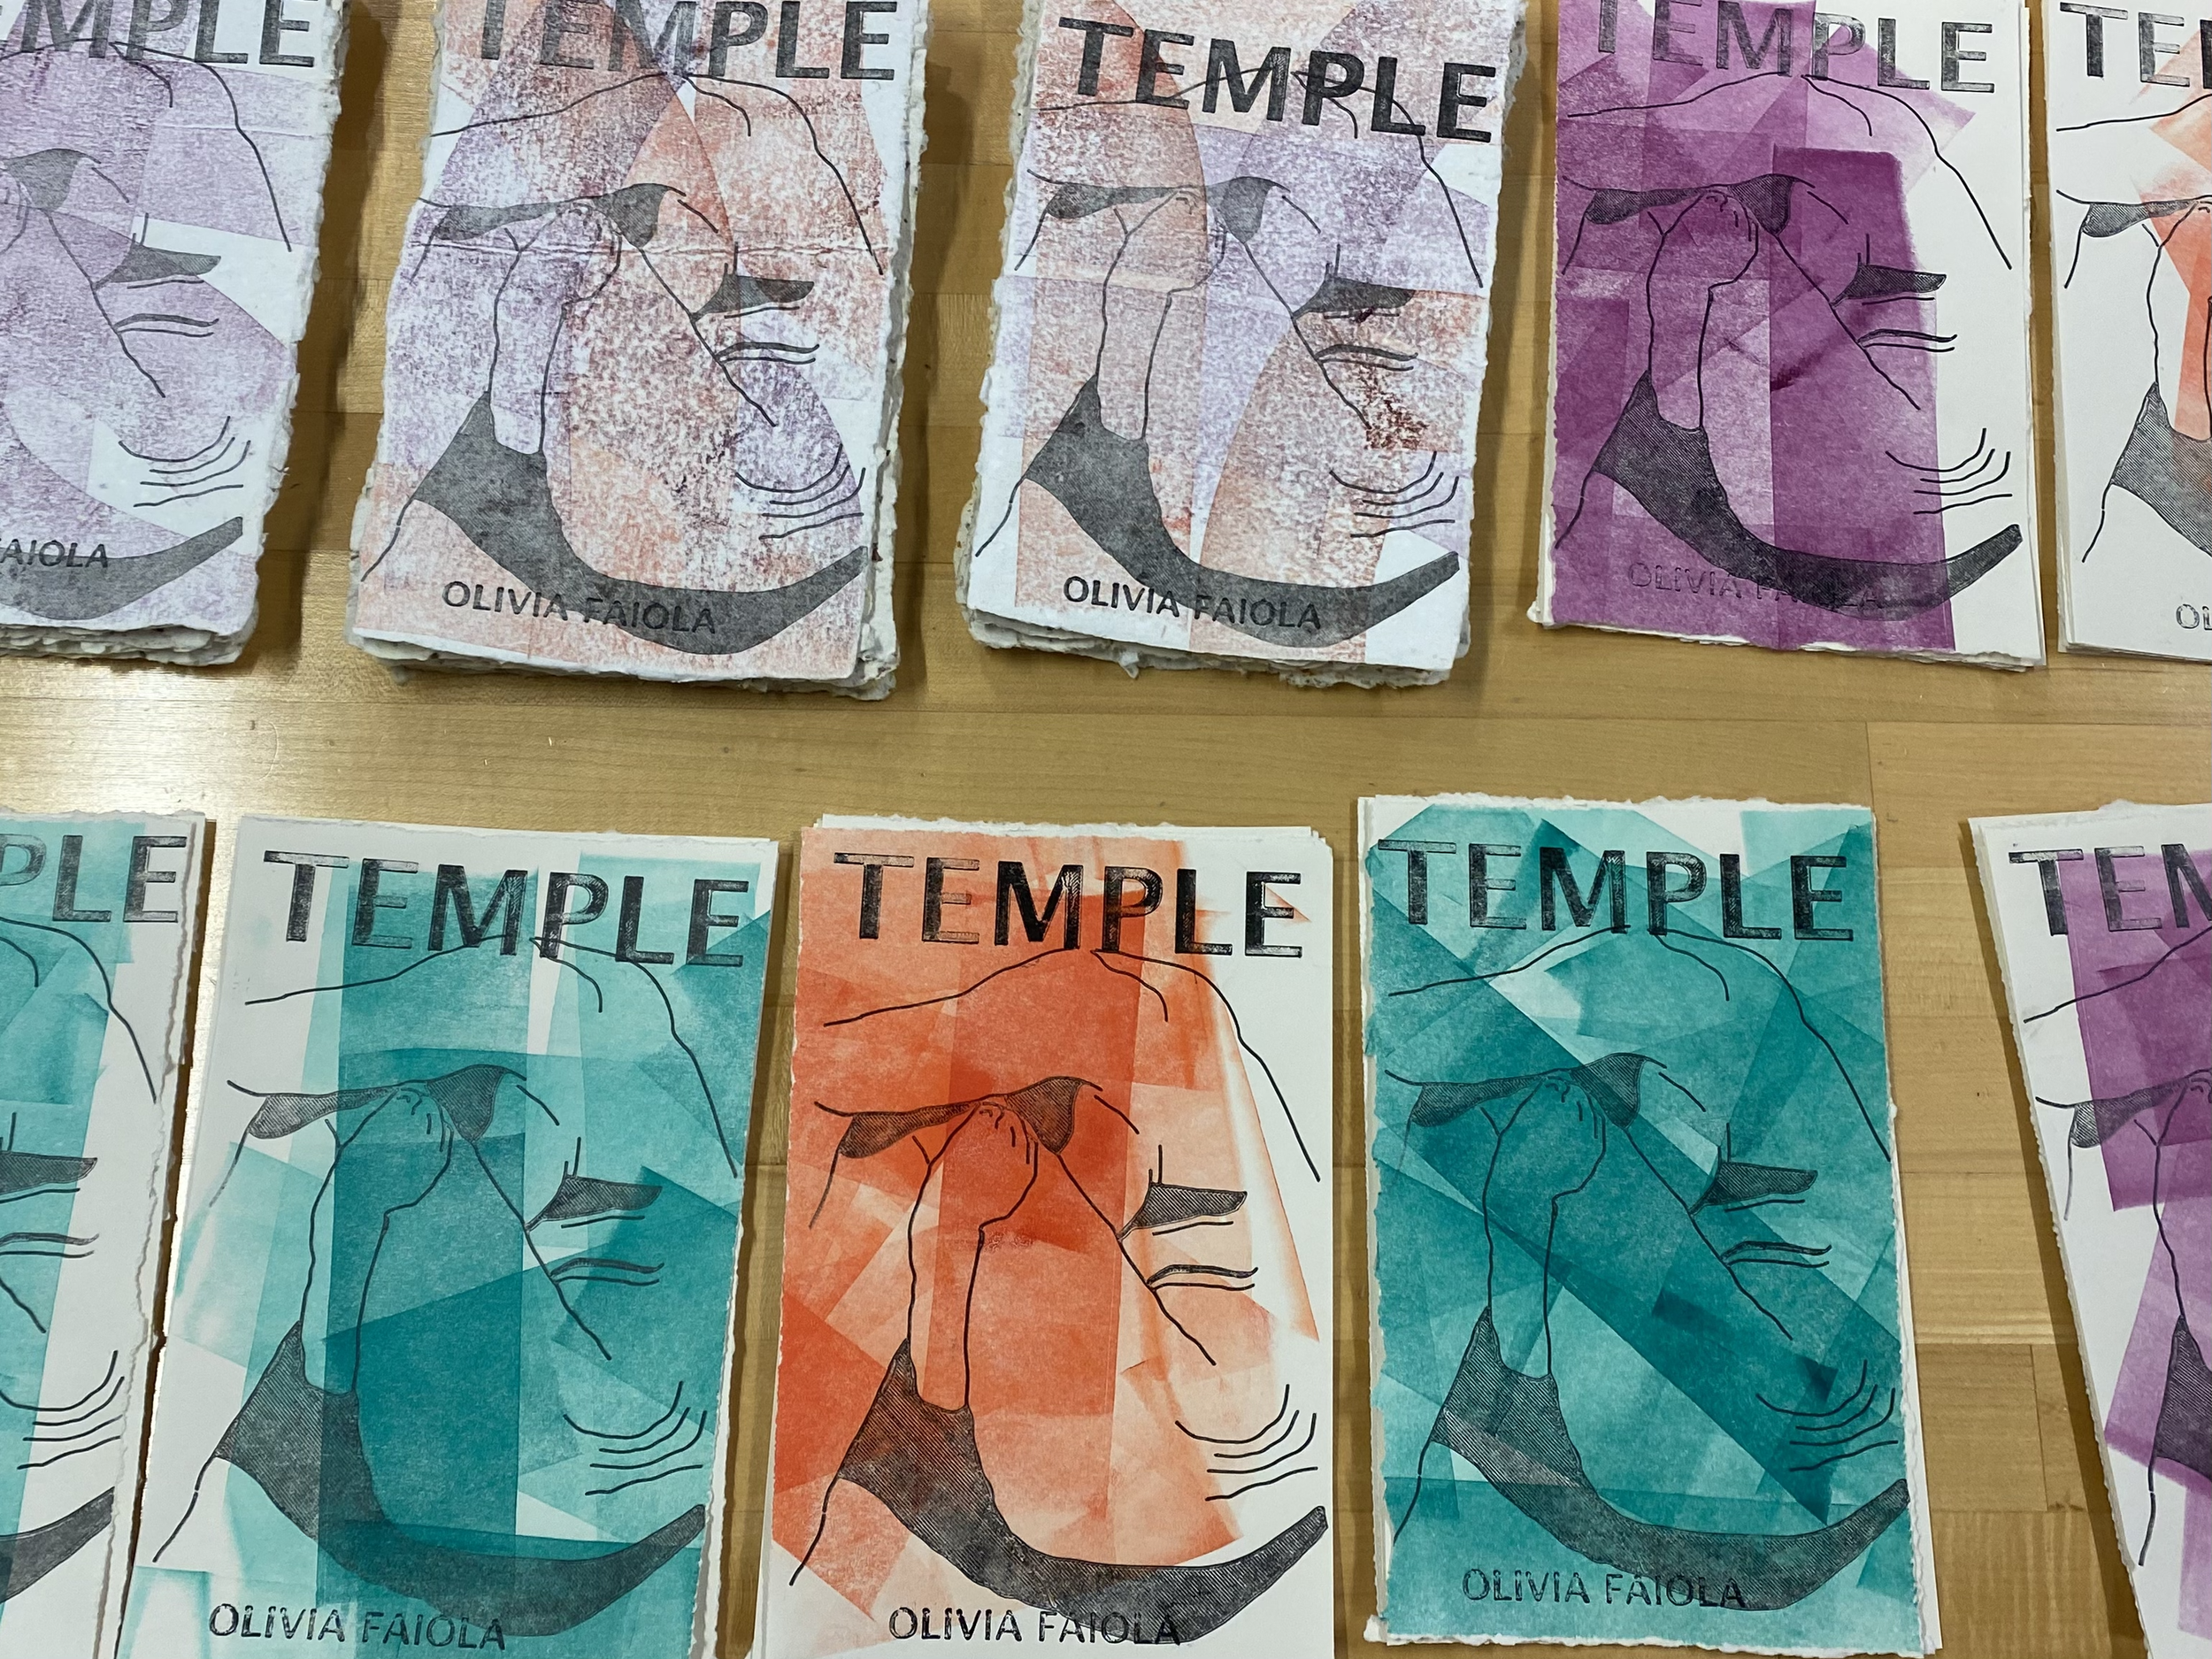
On Friday, I went to the type studio to print some of the poem on the letterpress while I waited for the 3D plates to print. However, with the whole hour of trying to troubleshoot the Google Docs and Affinity stuff, my steam was running pretty thin. I was only able to print two sections of the poem (roughly 22 pages, excluding some proofs) before my 3D-print of Temple and my name was completed. I did return that following Sunday to finish printing the last plate, the colophon. I will admit, I was pretty hesitant with my colophon as I was unsure if I 1) wrote it correctly and 2) if I gave proper credit to everyone and everything involved. After re-reading it over and over, I decided to just go for it and print it, as I was also unsure whether it would print at all, since this was the smallest (12-pt) and the longest text I had printed.
While I didn’t complete everything before Tuesday’s class, I do believe a lot still got done, and I’m back on track. During Tuesday’s class, I was mostly in the type studio, aiming to finish printing the poem block on the remaining pages (roughly 44 pages). Then on Wednesday, I finished off the title page and printed the colophon! On Thursday, I sorted all the pages into dedicated book sections and trimmed them to the same length and width as closely as possible. With printing, trimming, and sorting being done, I’m finally on the last two steps of the project! That being binding and hanging up the handmade paper prints.
With binding, I’ve been looking at tutorials on the best techniques for loose papers, since my pages aren’t folded for some traditional binding. Professors whom I chatted with about this suggested a box! Which I believe is super cool, however, with less than a week to do it on top of a pop-up gallery show, finals, and obtaining materials for it, doesn’t seem feasible in this timeframe. But I do appreciate the feedback, and it might be a side project for me in the future if I continue doing prints with writing or text. Another idea I saw for loose pages is Japanese Bookbinding, and one involving linen binding tape. Over the weekend, I’ll be trying Japanese Bookbinding to see how I like the look and structure, then from there deciding whether to “clean it up” by covering the sewing with binding tape.
Here is my final to-do list for my capstone project to get done BEFORE Thursday:
Pull 3-4 sheets of plain homemade paper (back)
Print colophon on remaining sheets
Bind books
Source magnets and cover them in homemade paper (hole-punching and using double-sided tape) + source nails
Figure out which wall I’m using?