Weekly Progress Update
Week 6 has become the new Week 5, with midterms and assignments due all in the same week! Last week, when I made my to-do list of things needing to get done before Tuesday, I will admit, I was a bit delusional about what I could get done with everything else around me. But that doesn’t mean I come to this blog post empty-handed!
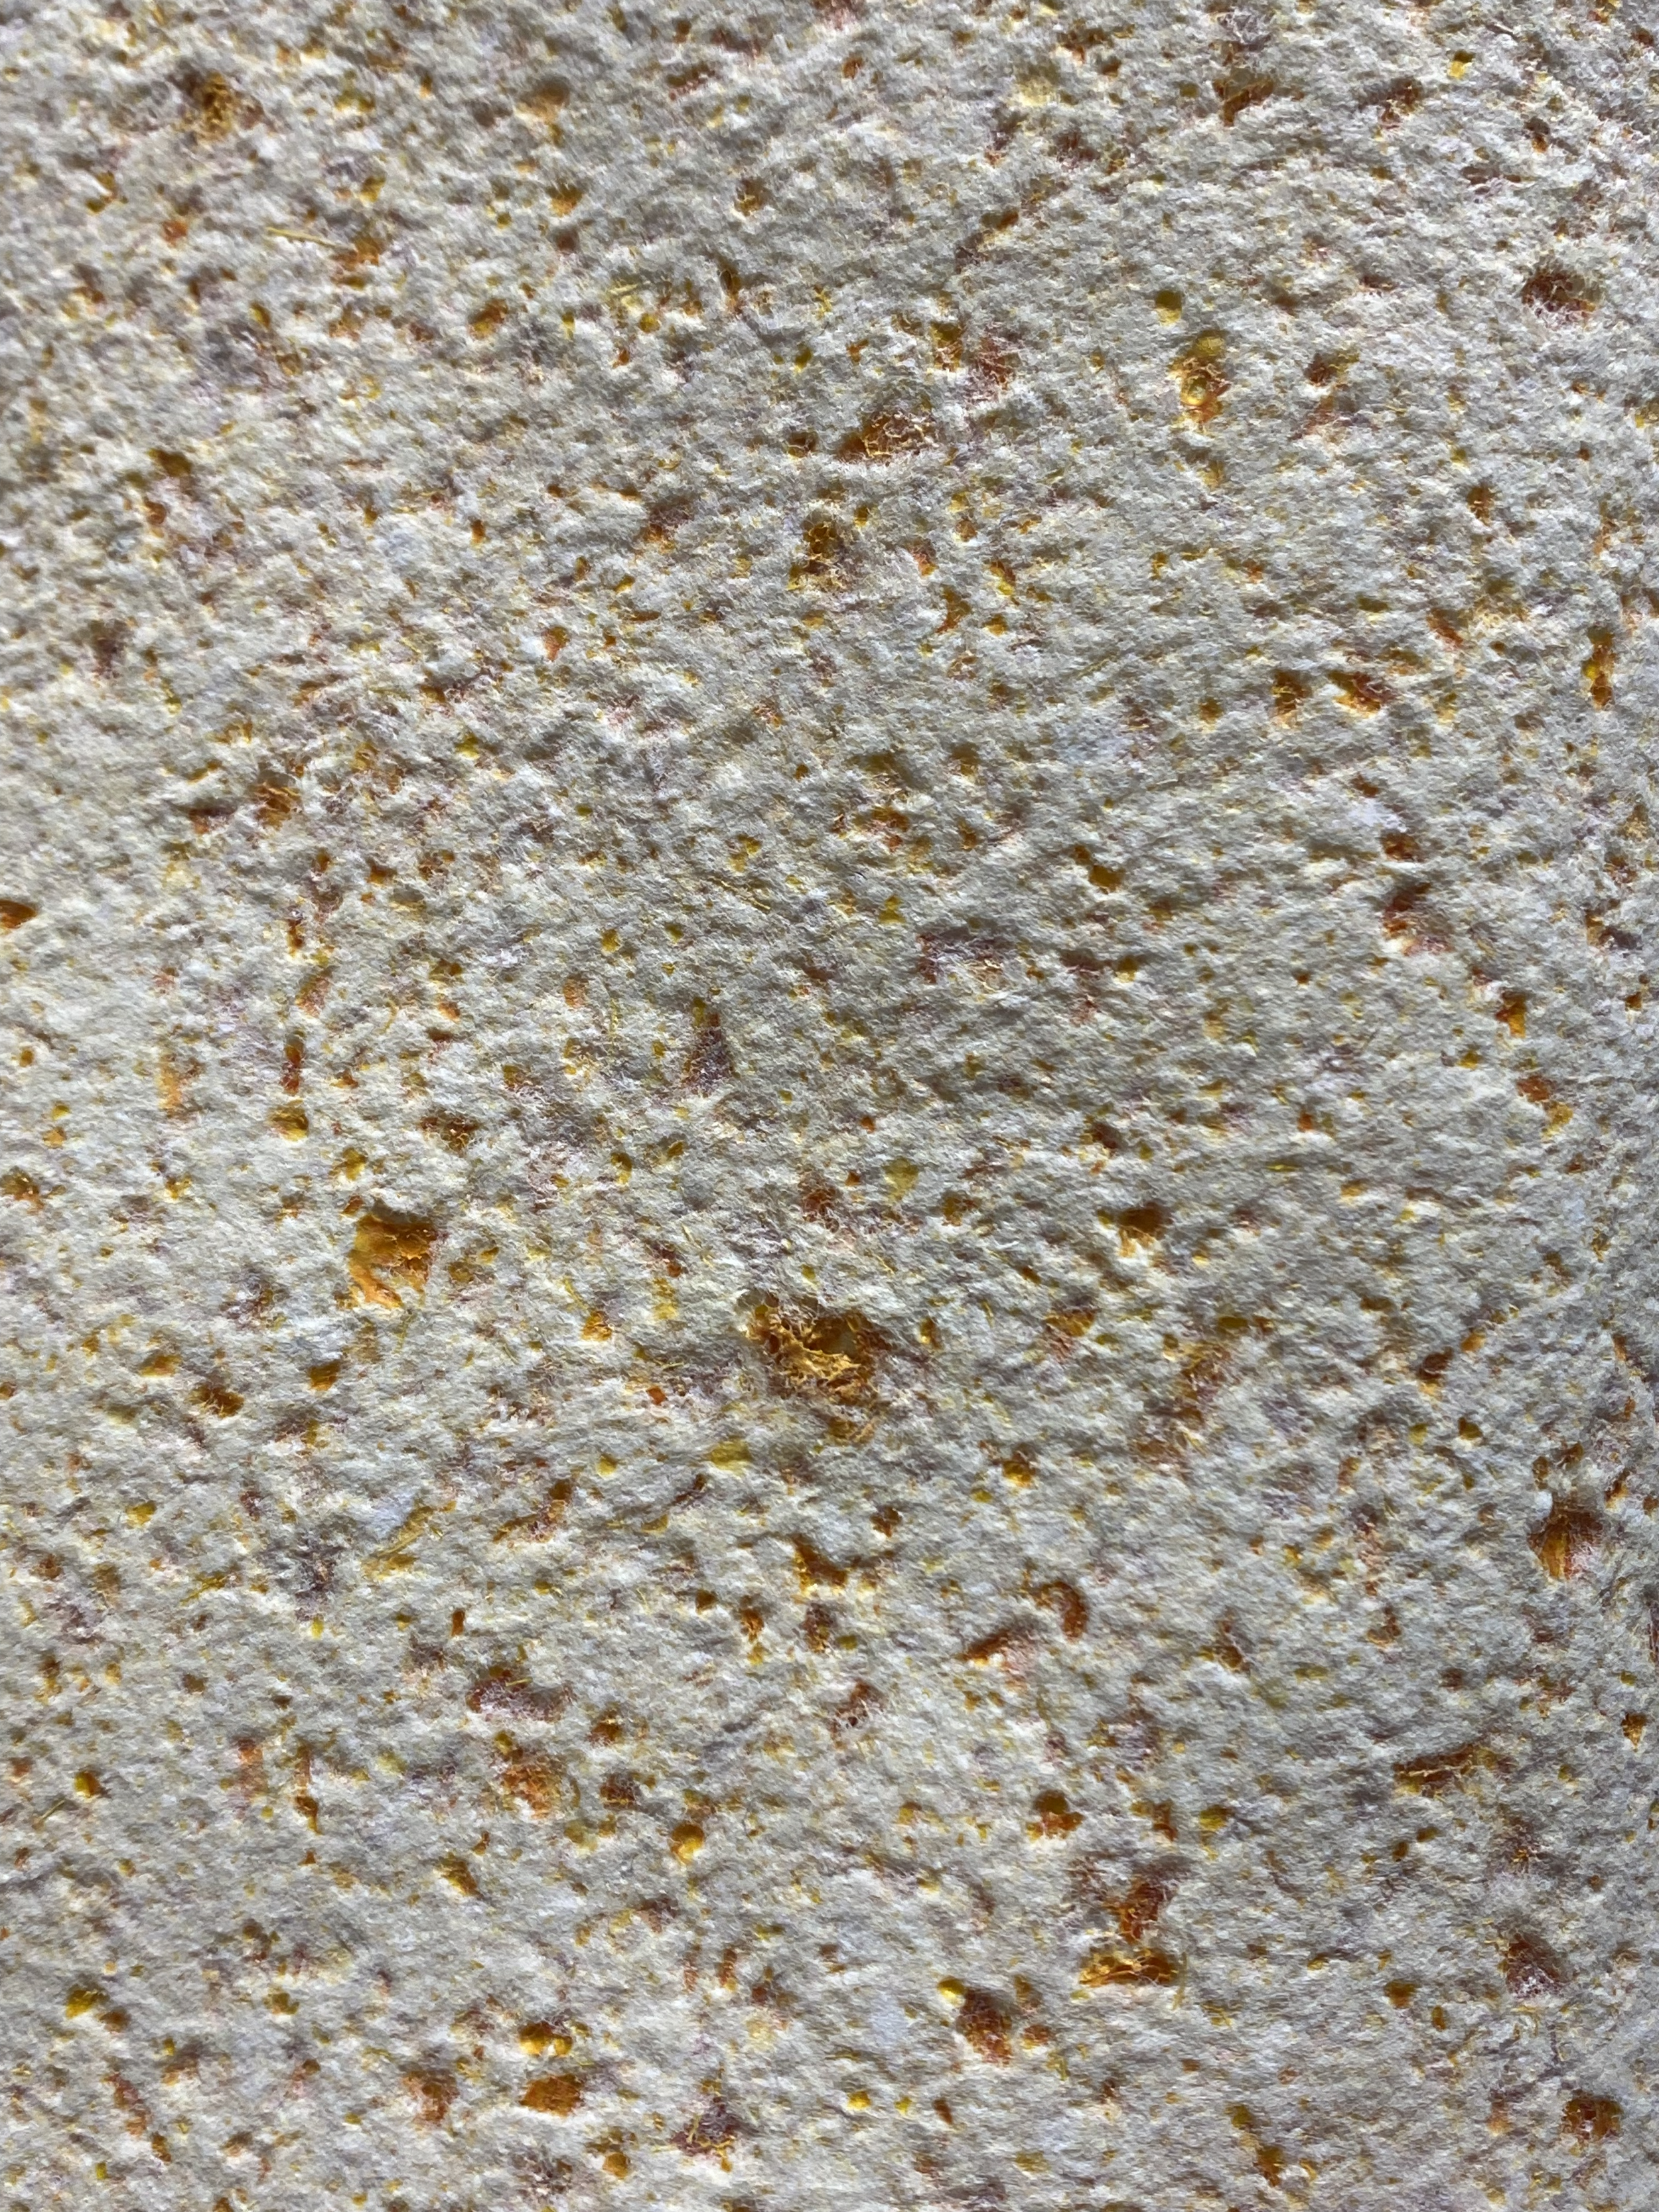
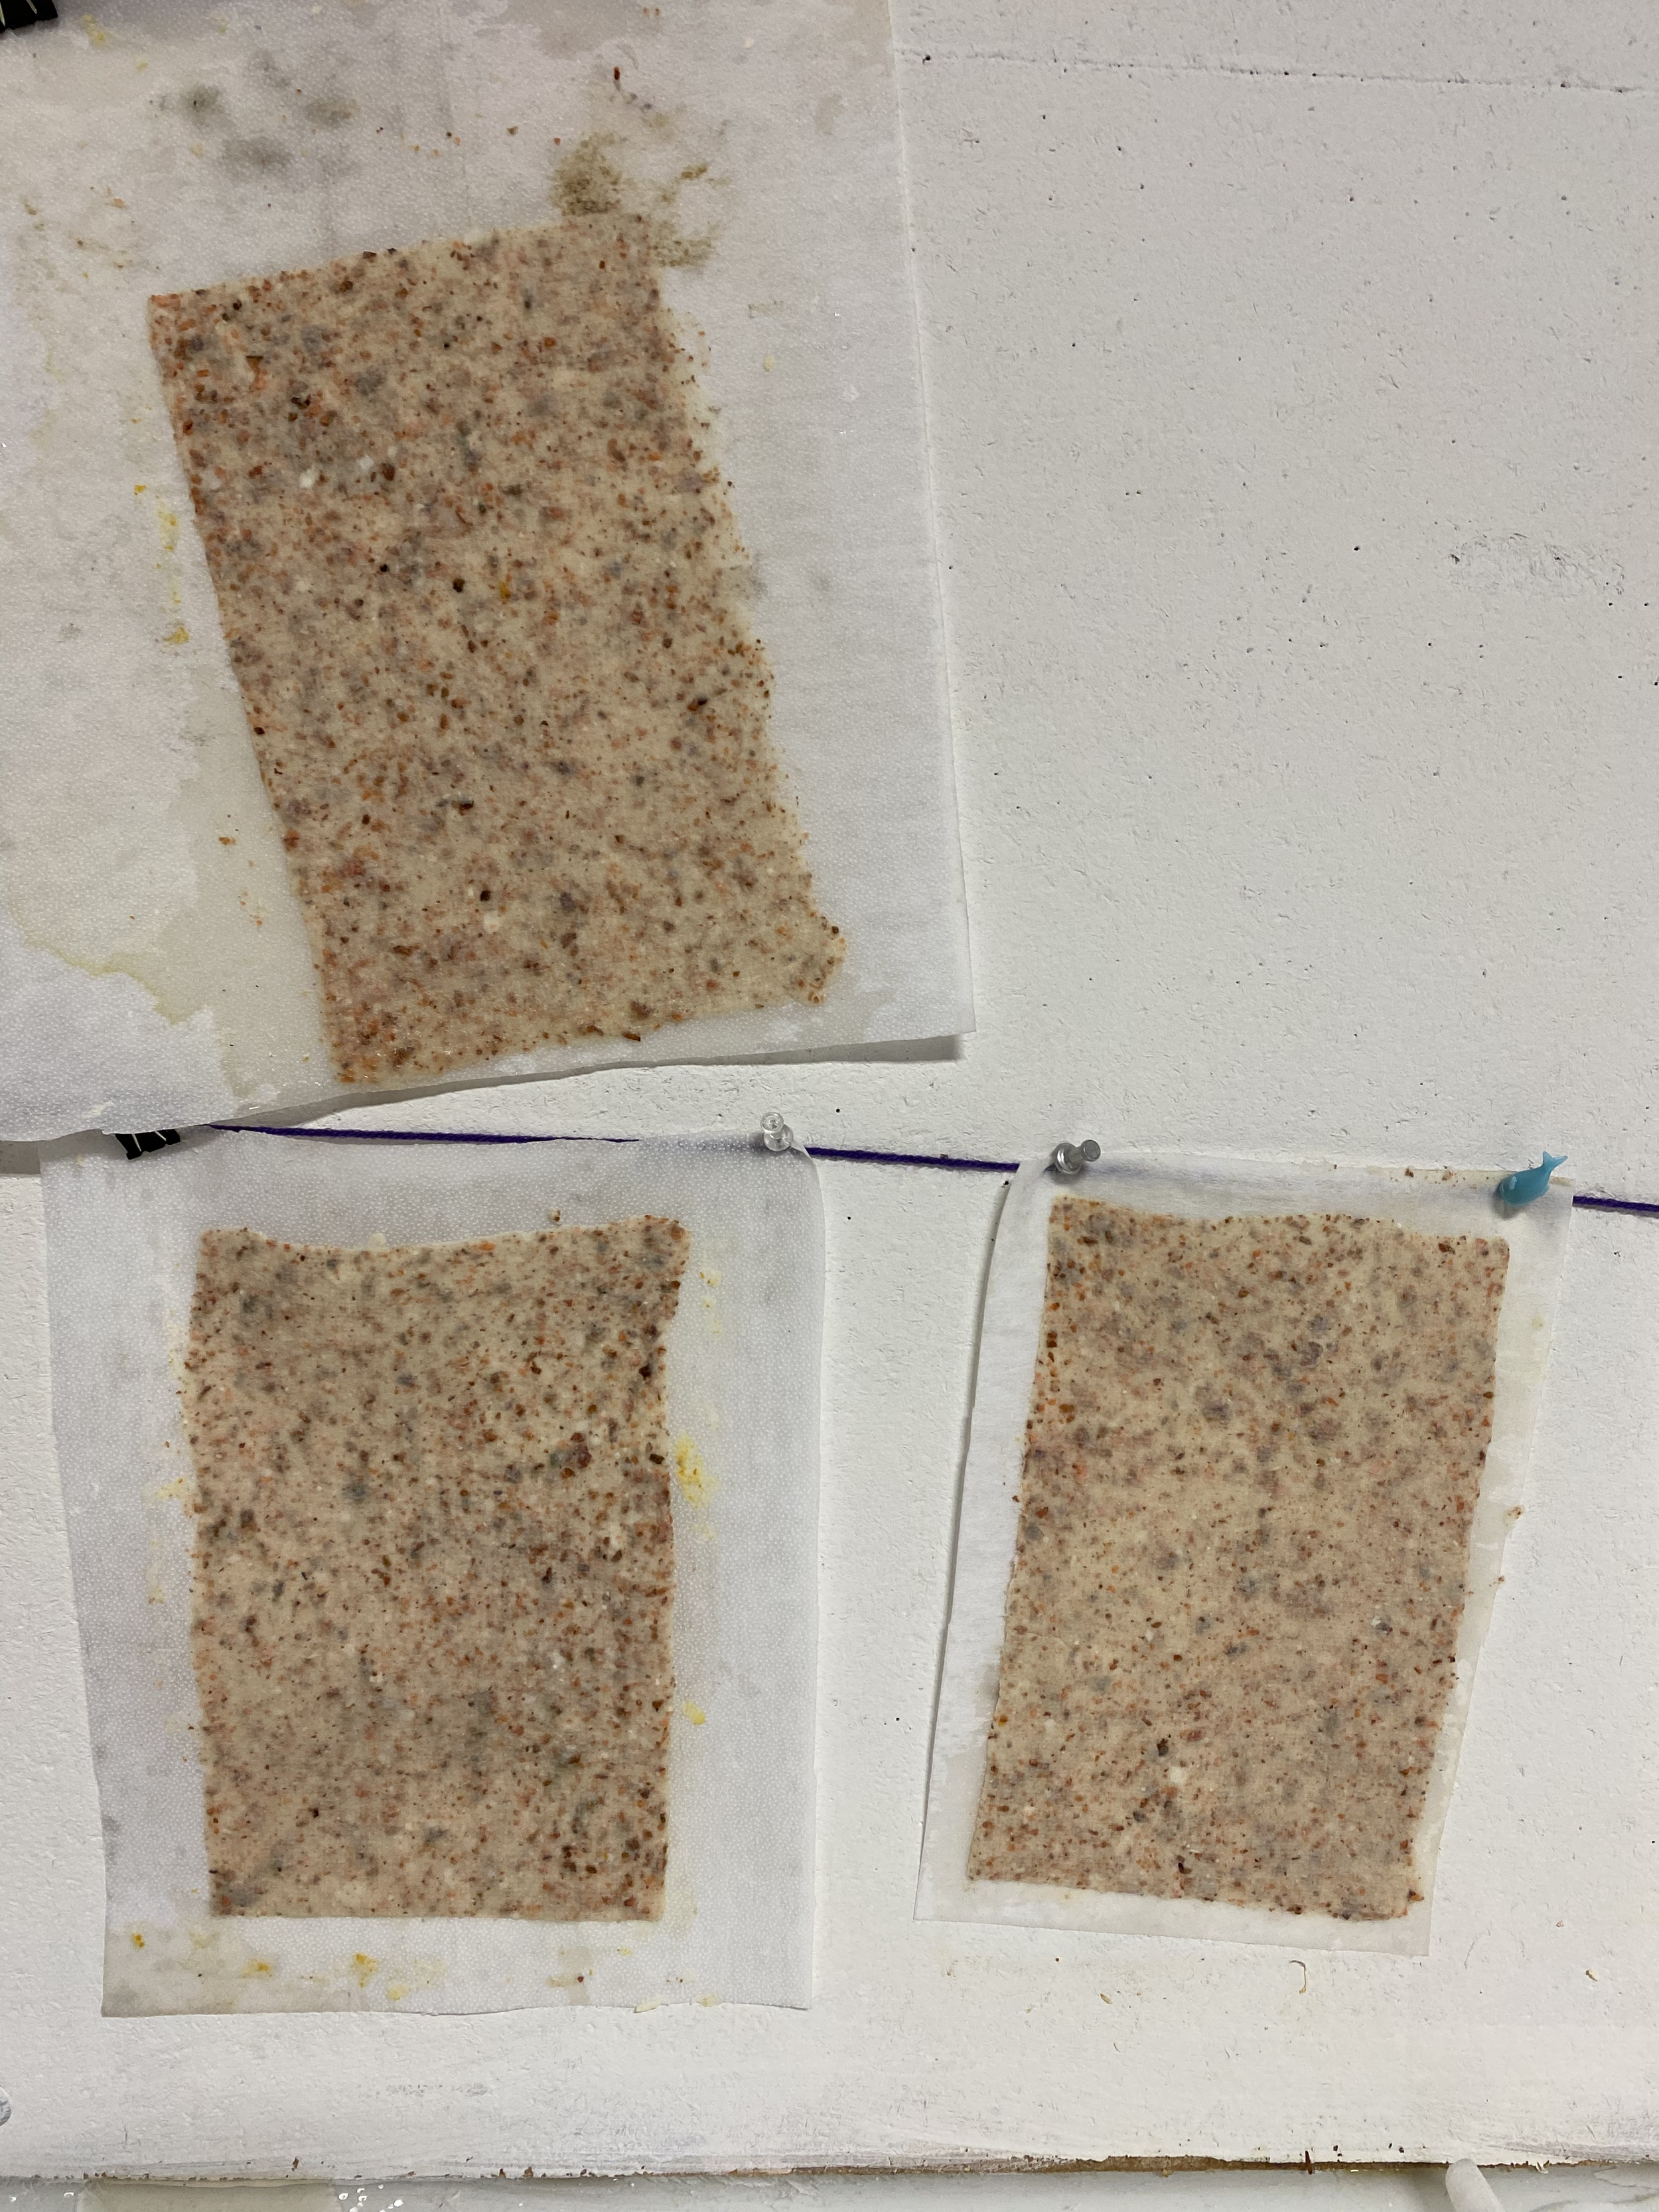
The biggest update was on Monday: I made another batch of homemade paper, this time with orange skins! The process was different from the apple skins, as orange skins are tougher and have an “oily” texture. While the imagery printed on the paper is based on sumo oranges, I used the skins of my Cutie’s clementines, which I’ve been eating every single day last week (minimum of two oranges a day, haha). However, I thought I had made a massive mistake before I even started the actual papermaking process. With an upcoming studio-art distinction midterm critique, I was basically living in my studio all of last week. So every time I ate my orange, my peels lived on my desk out in the open, slowly forming a mountain as the week progressed. When I went to my studio to retrieve the peels in the morning so I could take them home, I realized they dried over time. In most of my papermaking references, they never specified that the orange peels should be dried before use. Which stressed me out, but I continued with the process to see if maybe it would work out in my favor, which it did! Below are the steps for preparing the peels for the papermaking process:
Preparing Orange Skins for Papermaking:
Peel the orange skins of your choice, and peel as much as you want, depending on how much paper you want to make. (I did a ratio of 2:3, two batches of peels to pulp mixture, and made 10 sheets WITH extra pulp, which will be repurposed for another papermaking project)
In a medium pot, fill with water (enough to cover the peels) and bring to a boil over medium heat.
Once the water is boiling, gently add your peels to the pot.
Let the peels boil for about 15-20 minutes, or until the white part of the peel is easily scraped off with a spoon. Stir occasionally. (*The main reason we boil orange peels or other fibrous fruits or vegetables, such as celery, is that it removes excess oils and breaks down the fibrous structure, making them more suitable for paper once blended.)
Once your peels are softened, turn off your pot and drain the water. Now your peels are prepped for the papermaking process, as detailed in the January 29 blog post.
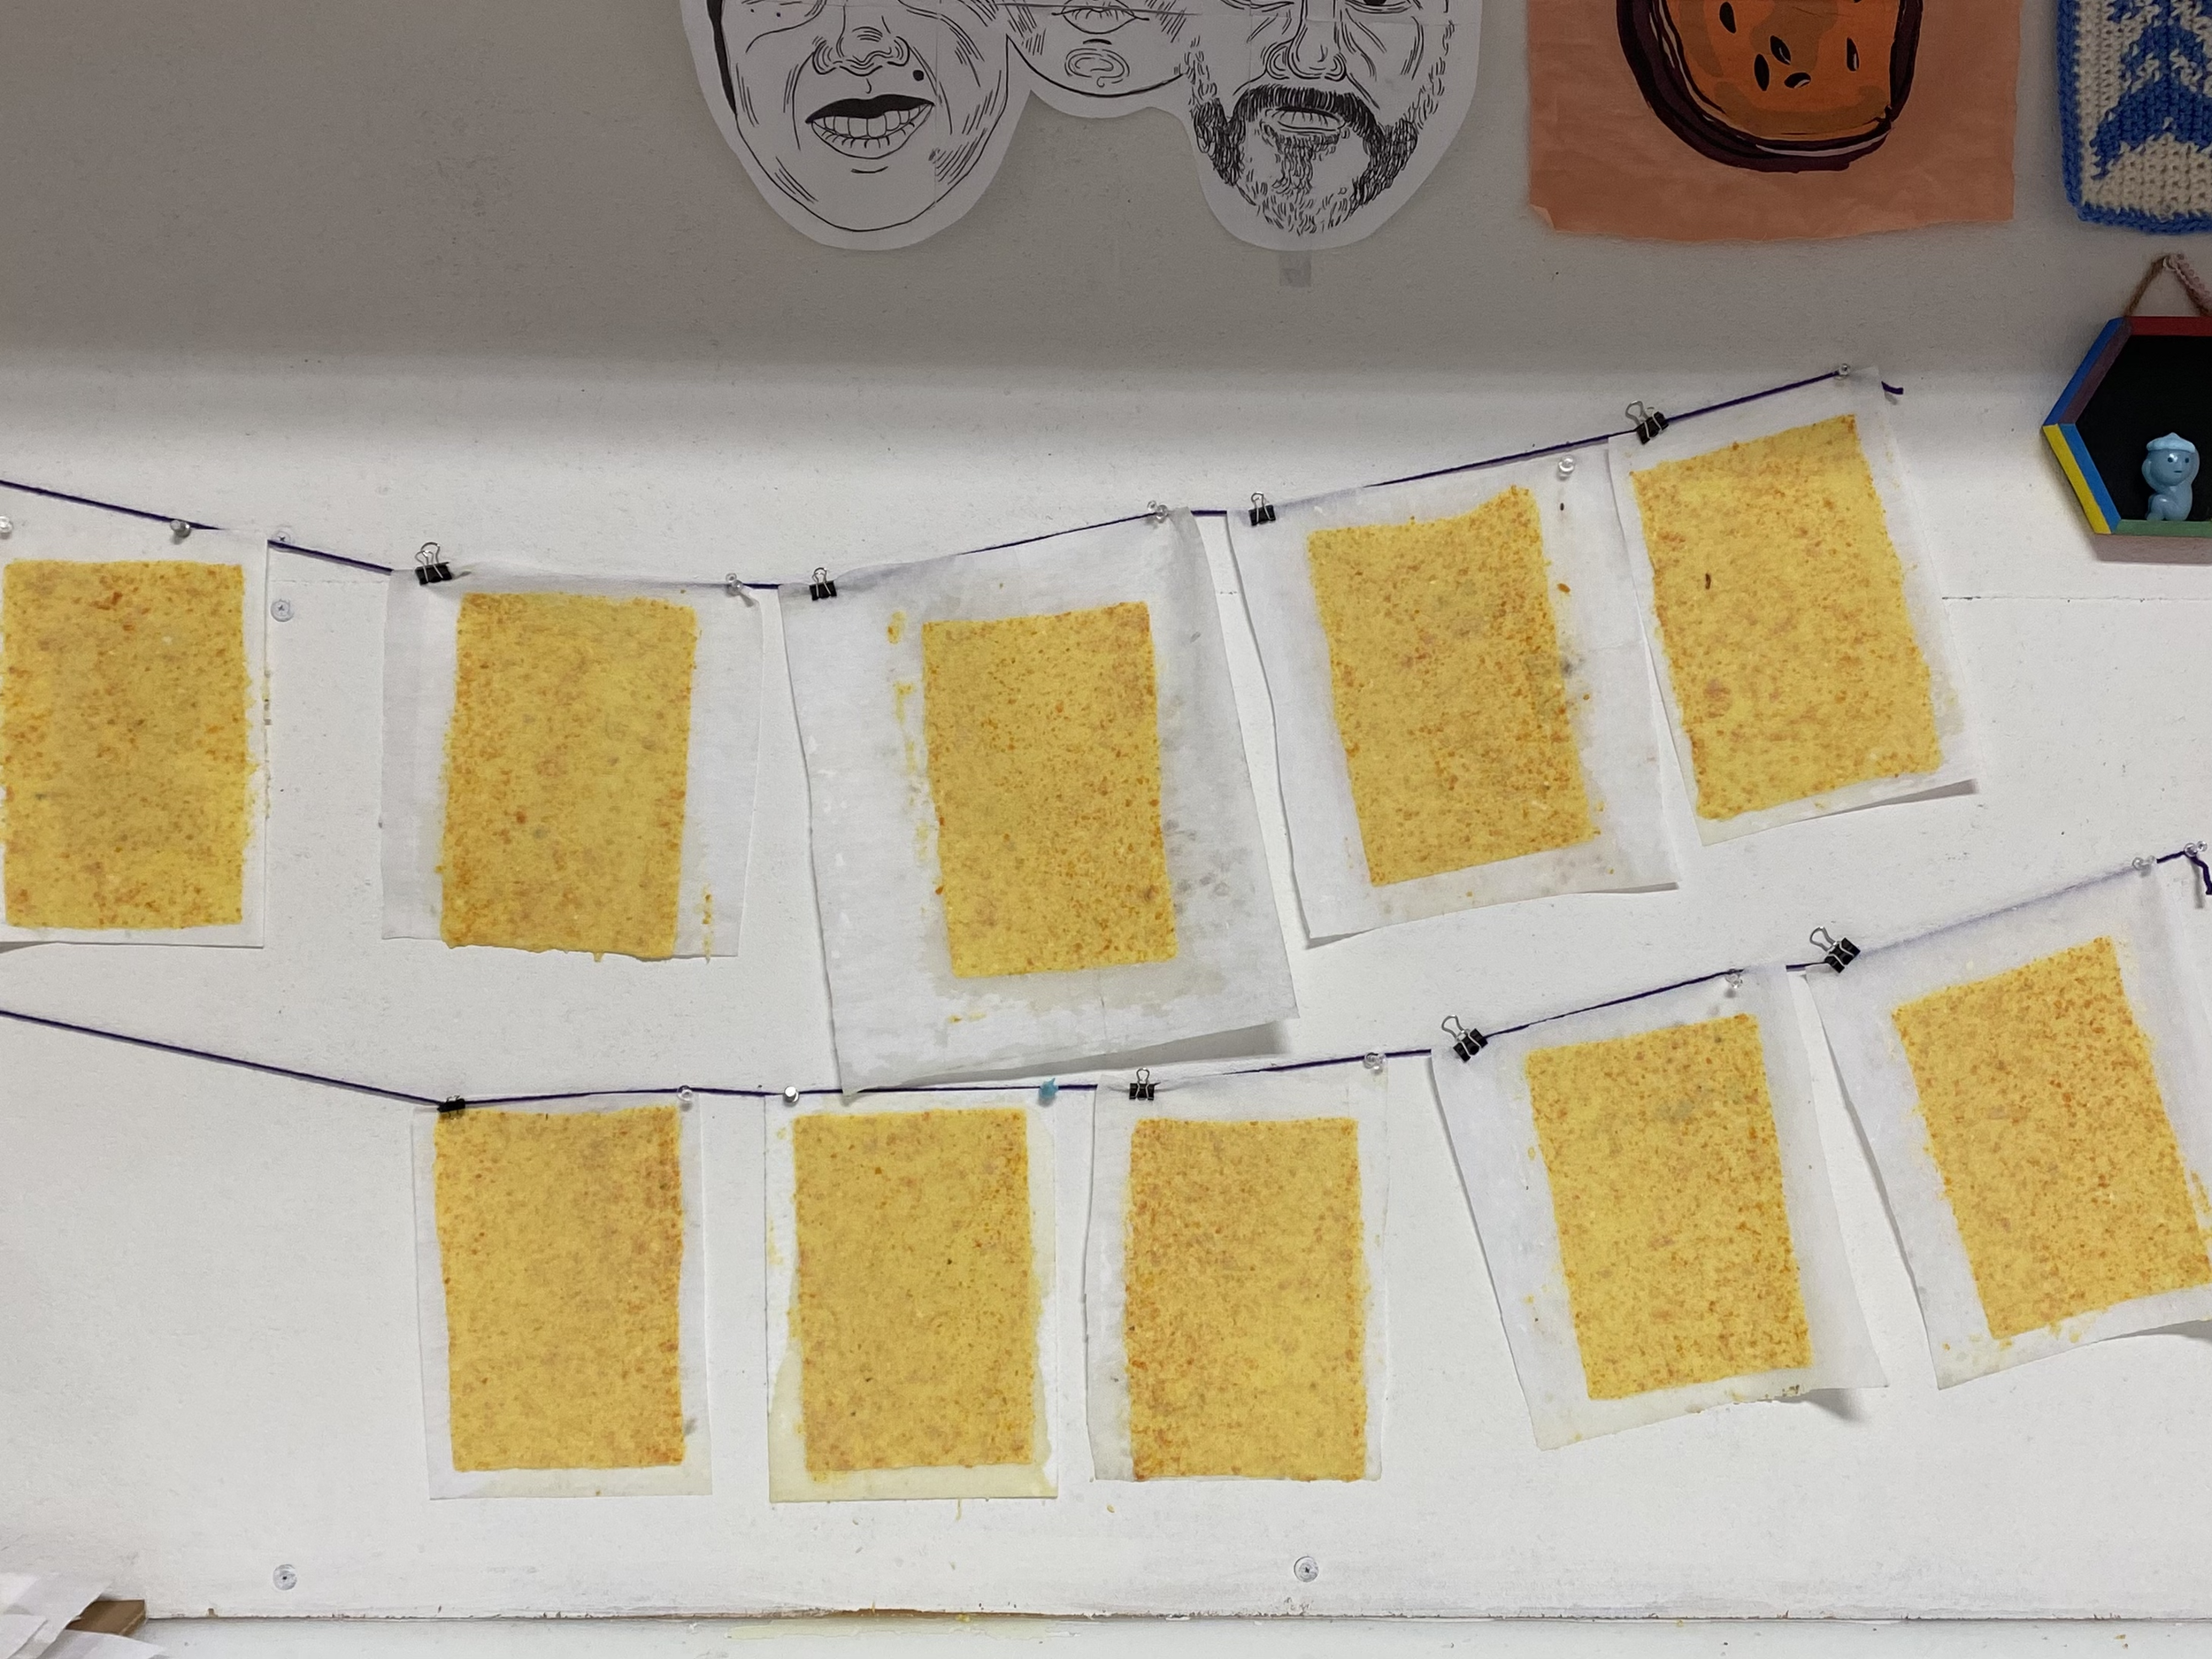
Now, if you’ve been following my blog from the start or have read the January 29th post about my apple skin paper, you know that one issue I had was getting weird green spots on my paper. While it wasn’t mold, it didn’t make for the prettiest product (for me at least). The only solution I really got was to be quicker with my dry time. However, I learned papermaking by layering wet papers, couch sheets, and felts, then flattening them with something heavy (usually we used drying boards for Intaglio and placed Litho stones on them). With the extra weight on top, the hope was to remove excess moisture from the papers after going over them with a sponge and flattening them. While I didn’t use a lithograph stone, I still used boxes from my studio during the apple skin round.
My workaround was to clear one of the walls in my studio and hang a string to create a clothesline, but for paper. A paperline? Anyway, the idea was that every time I pulled a new sheet of paper, I would continue removing excess water with a sponge and hang it on the clothesline. Hoping that exposing the pages rather than layering would make the paper dry faster and prevent green spots. And it surprisingly worked really well! When I came back the next day, the paper showed no green spots. The new problem was that the pages were severely warped because there was nothing to flatten them during drying. But the easy solution is to put heavy books or items on top of them to flatten them, or, if I want to be really fancy, a bookpress in the print studio!

On Tuesday, the class had our midterm presentations, where we gave a quick 10-minute overview of our project and current progress. I think it went really well! So, not much progress was made during that time, but during Thursday’s class, I drew up the design for the orange paper, which depicts a sumo orange with elements that reference my body. Whether through the texture of the orange or literally.
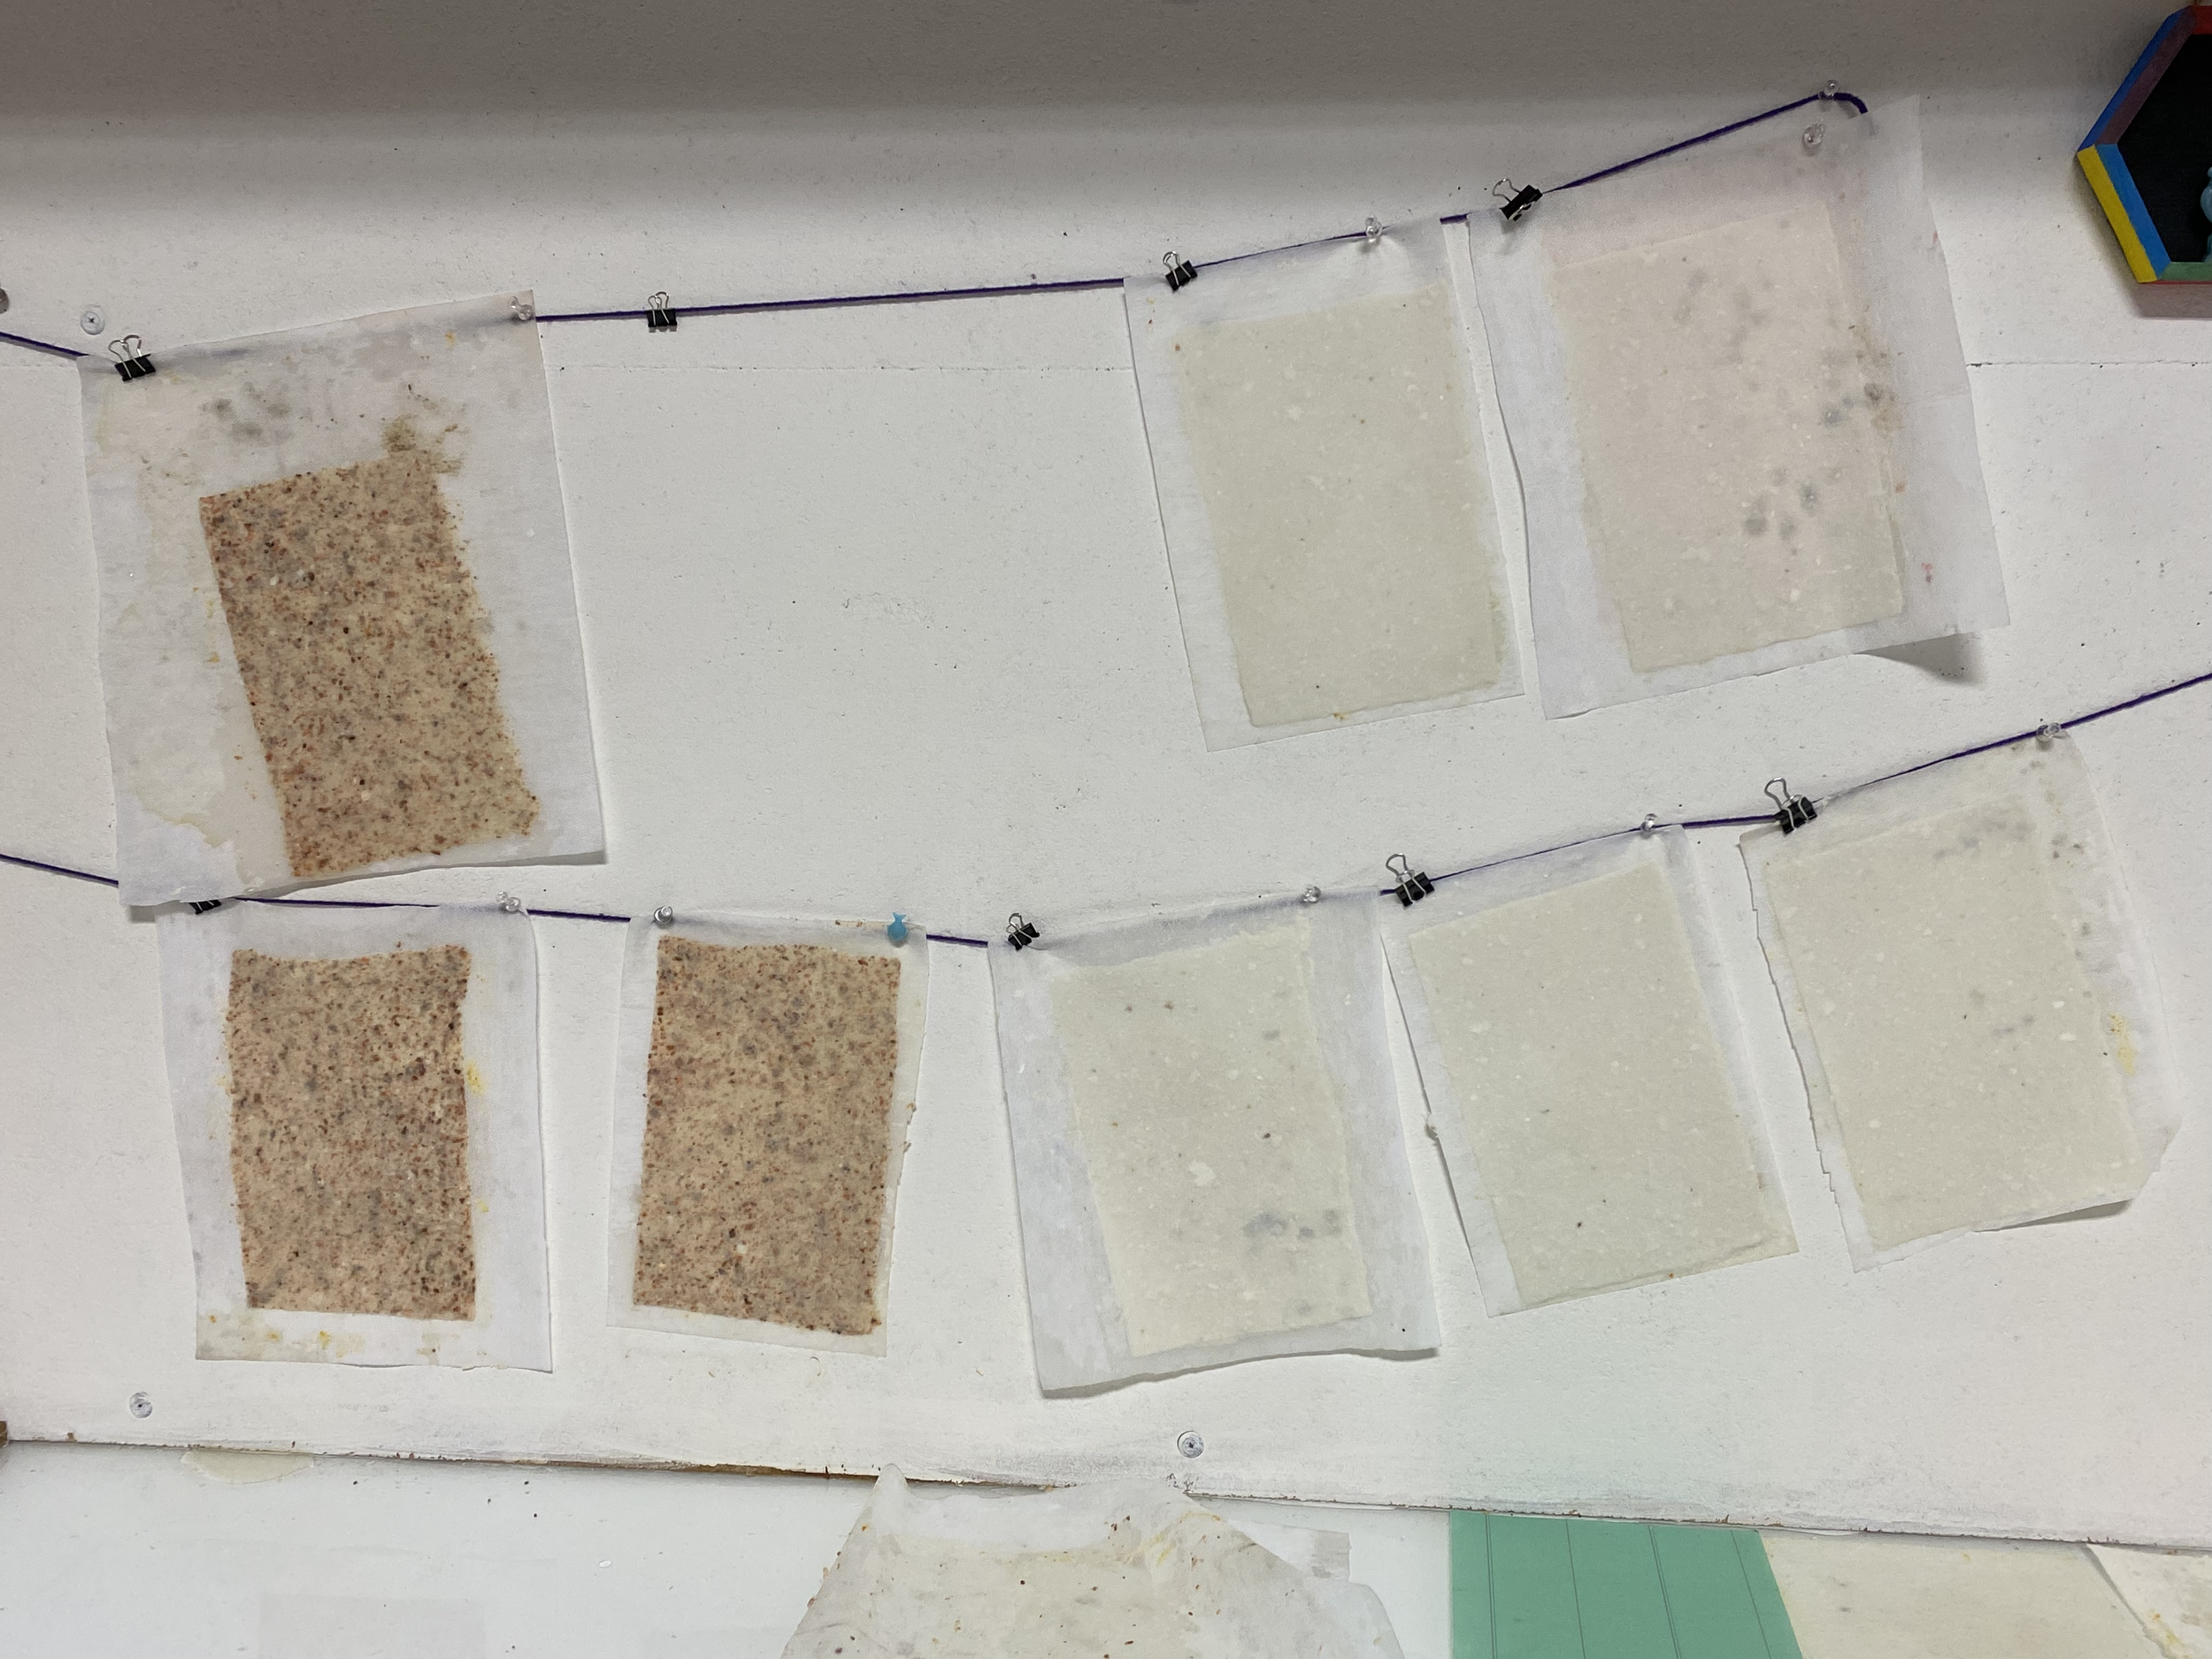
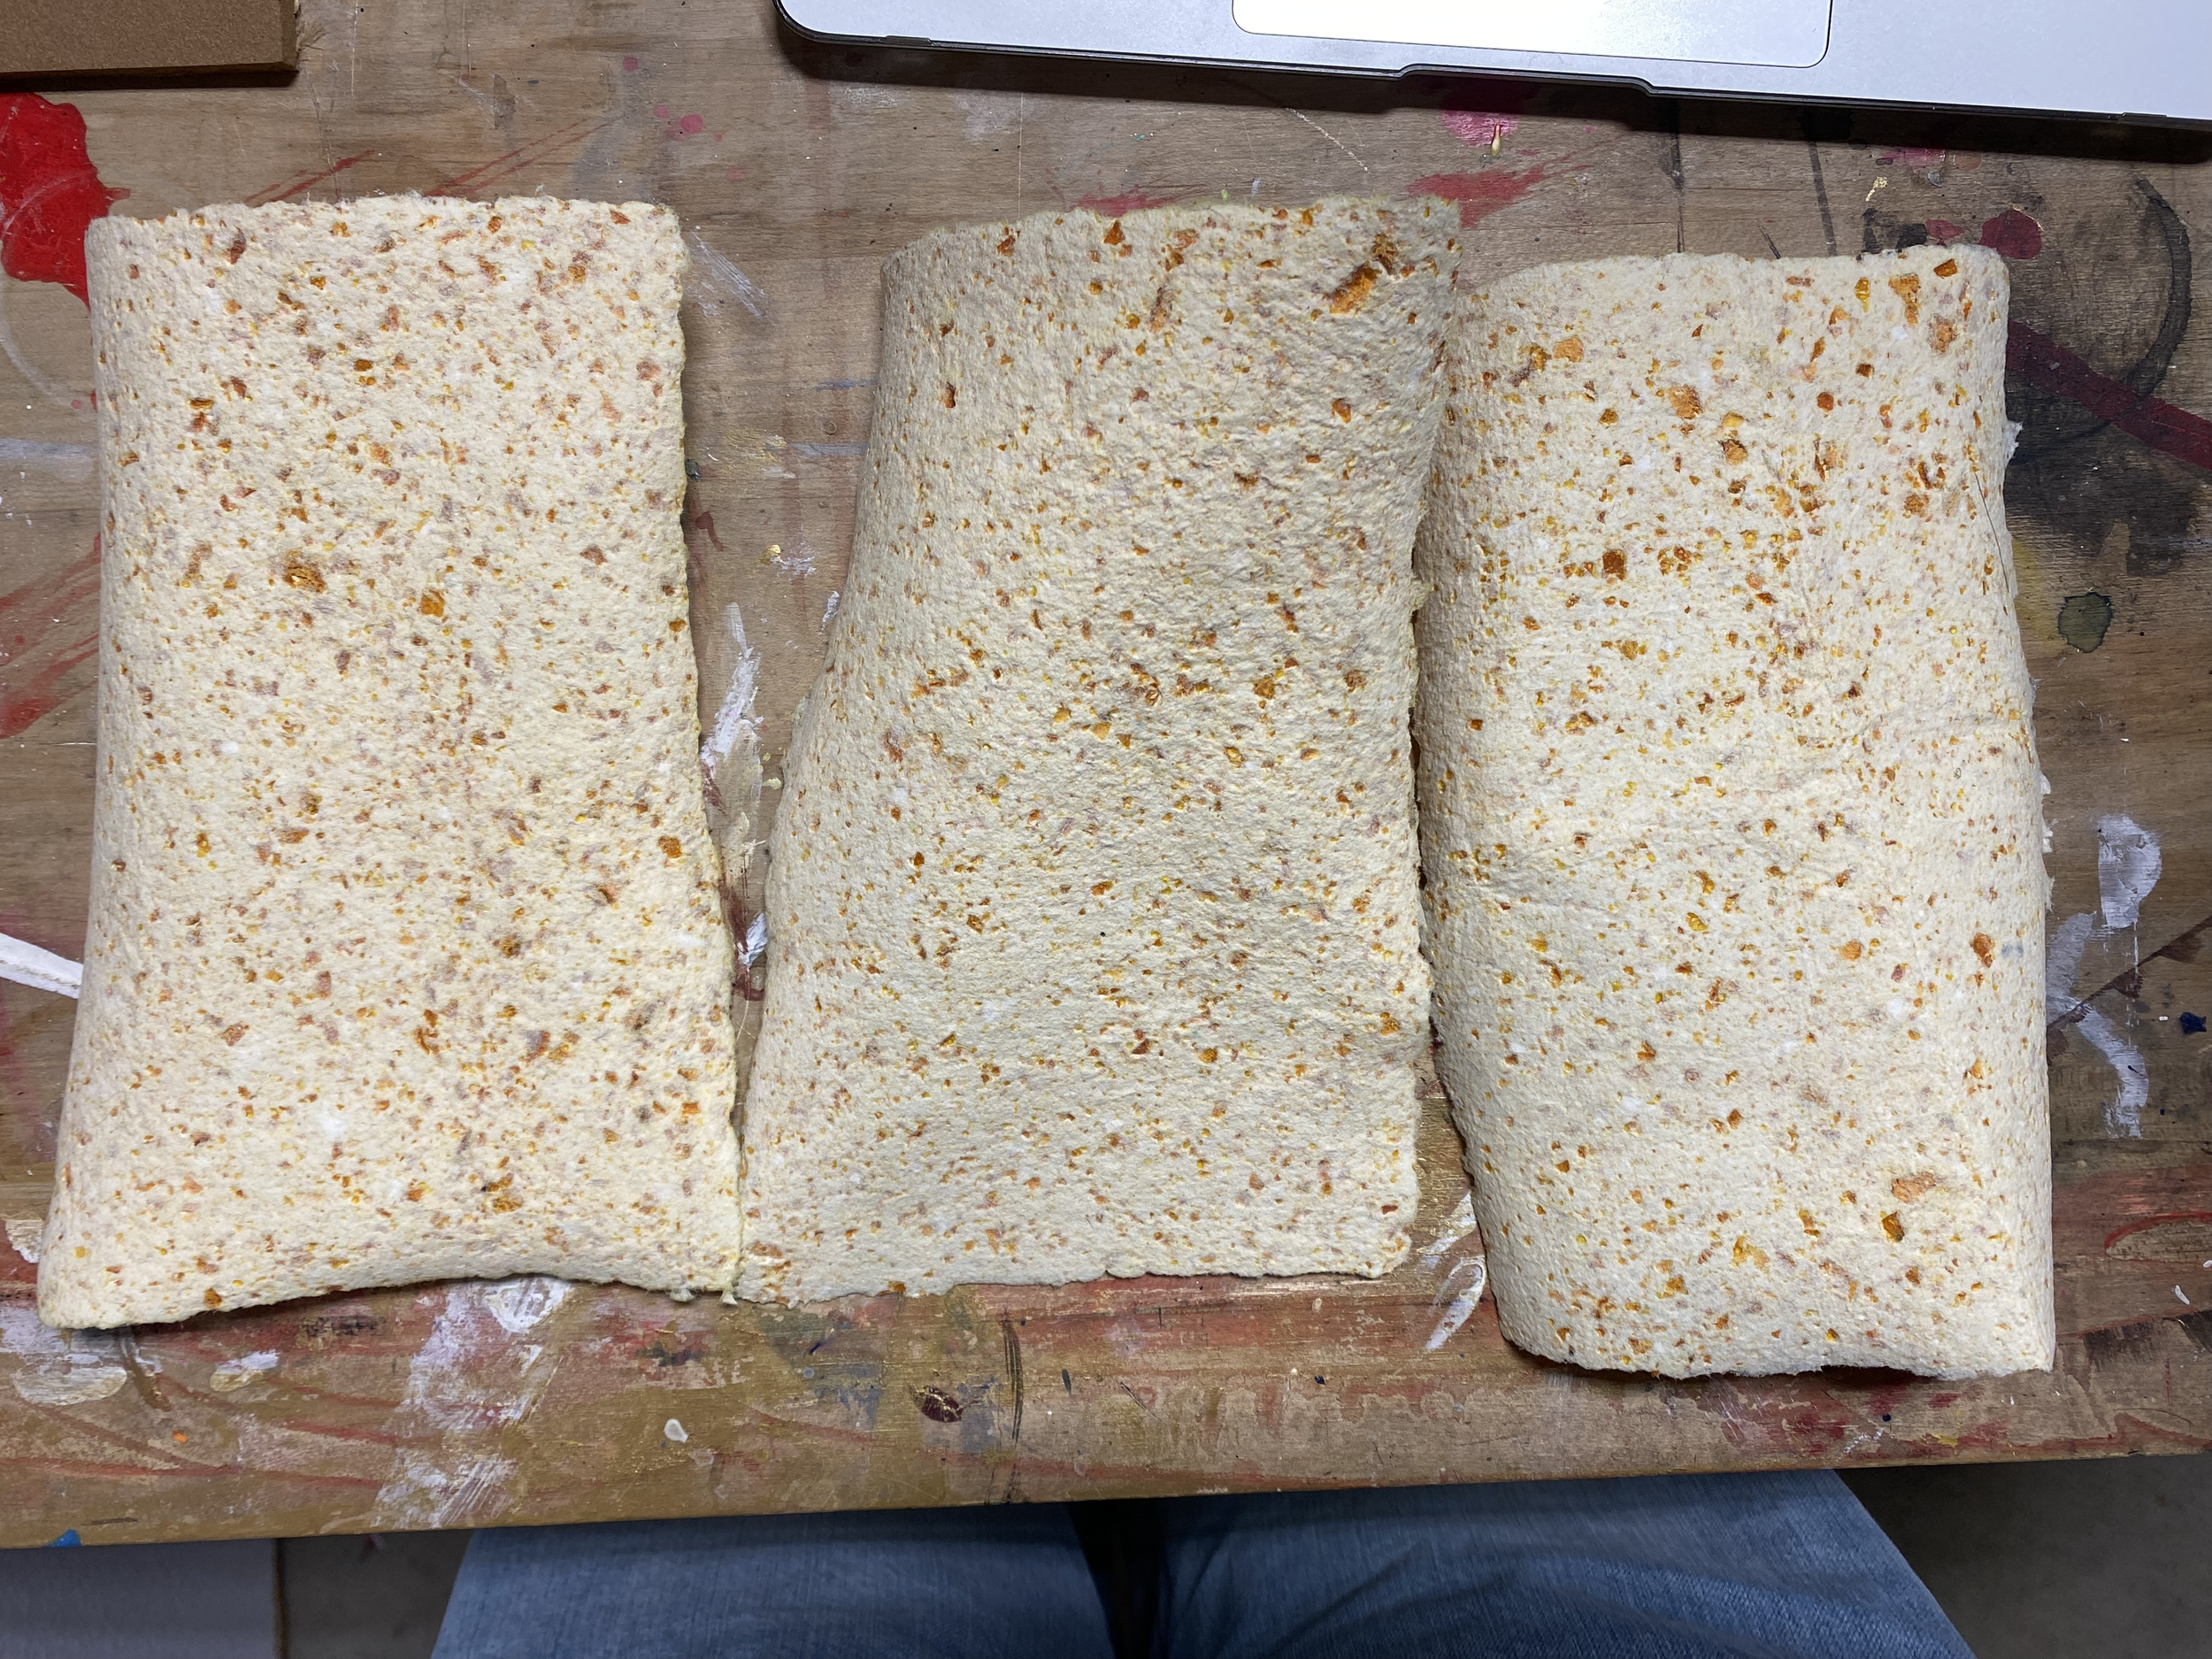
Later on Thursday, I was able to pull some more homemade paper! The paper on the left (the brown paper) is made from sweet potato skin. Then the paper on the right is regular homemade paper with no additives, as it’ll be used for the title page of the homemade books. Hoping to come back tomorrow, Friday, to see if they’re fully dried and I can put those papers with my orange paper underneath the book press to flatten!
Over the weekend, I’m hoping to 3D-print the sumo orange design and have it ready before Tuesday’s class! Here’s my to-do list before Tuesday:
1. *3D-print sumo orange plates
2. *Sumo orange prints
3. Draw designs for sweet potato or edamame or title
4. Collect edamame shells for papermaking