Weekly Progress Update
Last Friday, I started drawing my two apple designs in Procreate, then prepared to copy them into Tinkercad and 3D-print them. While the drawing process went well, 3D printing was another story. A lot of tiny mistakes happened the past weekend and this week, but that’s the process of learning! (Or that’s what I’m telling myself to reassure me and my setbacks)
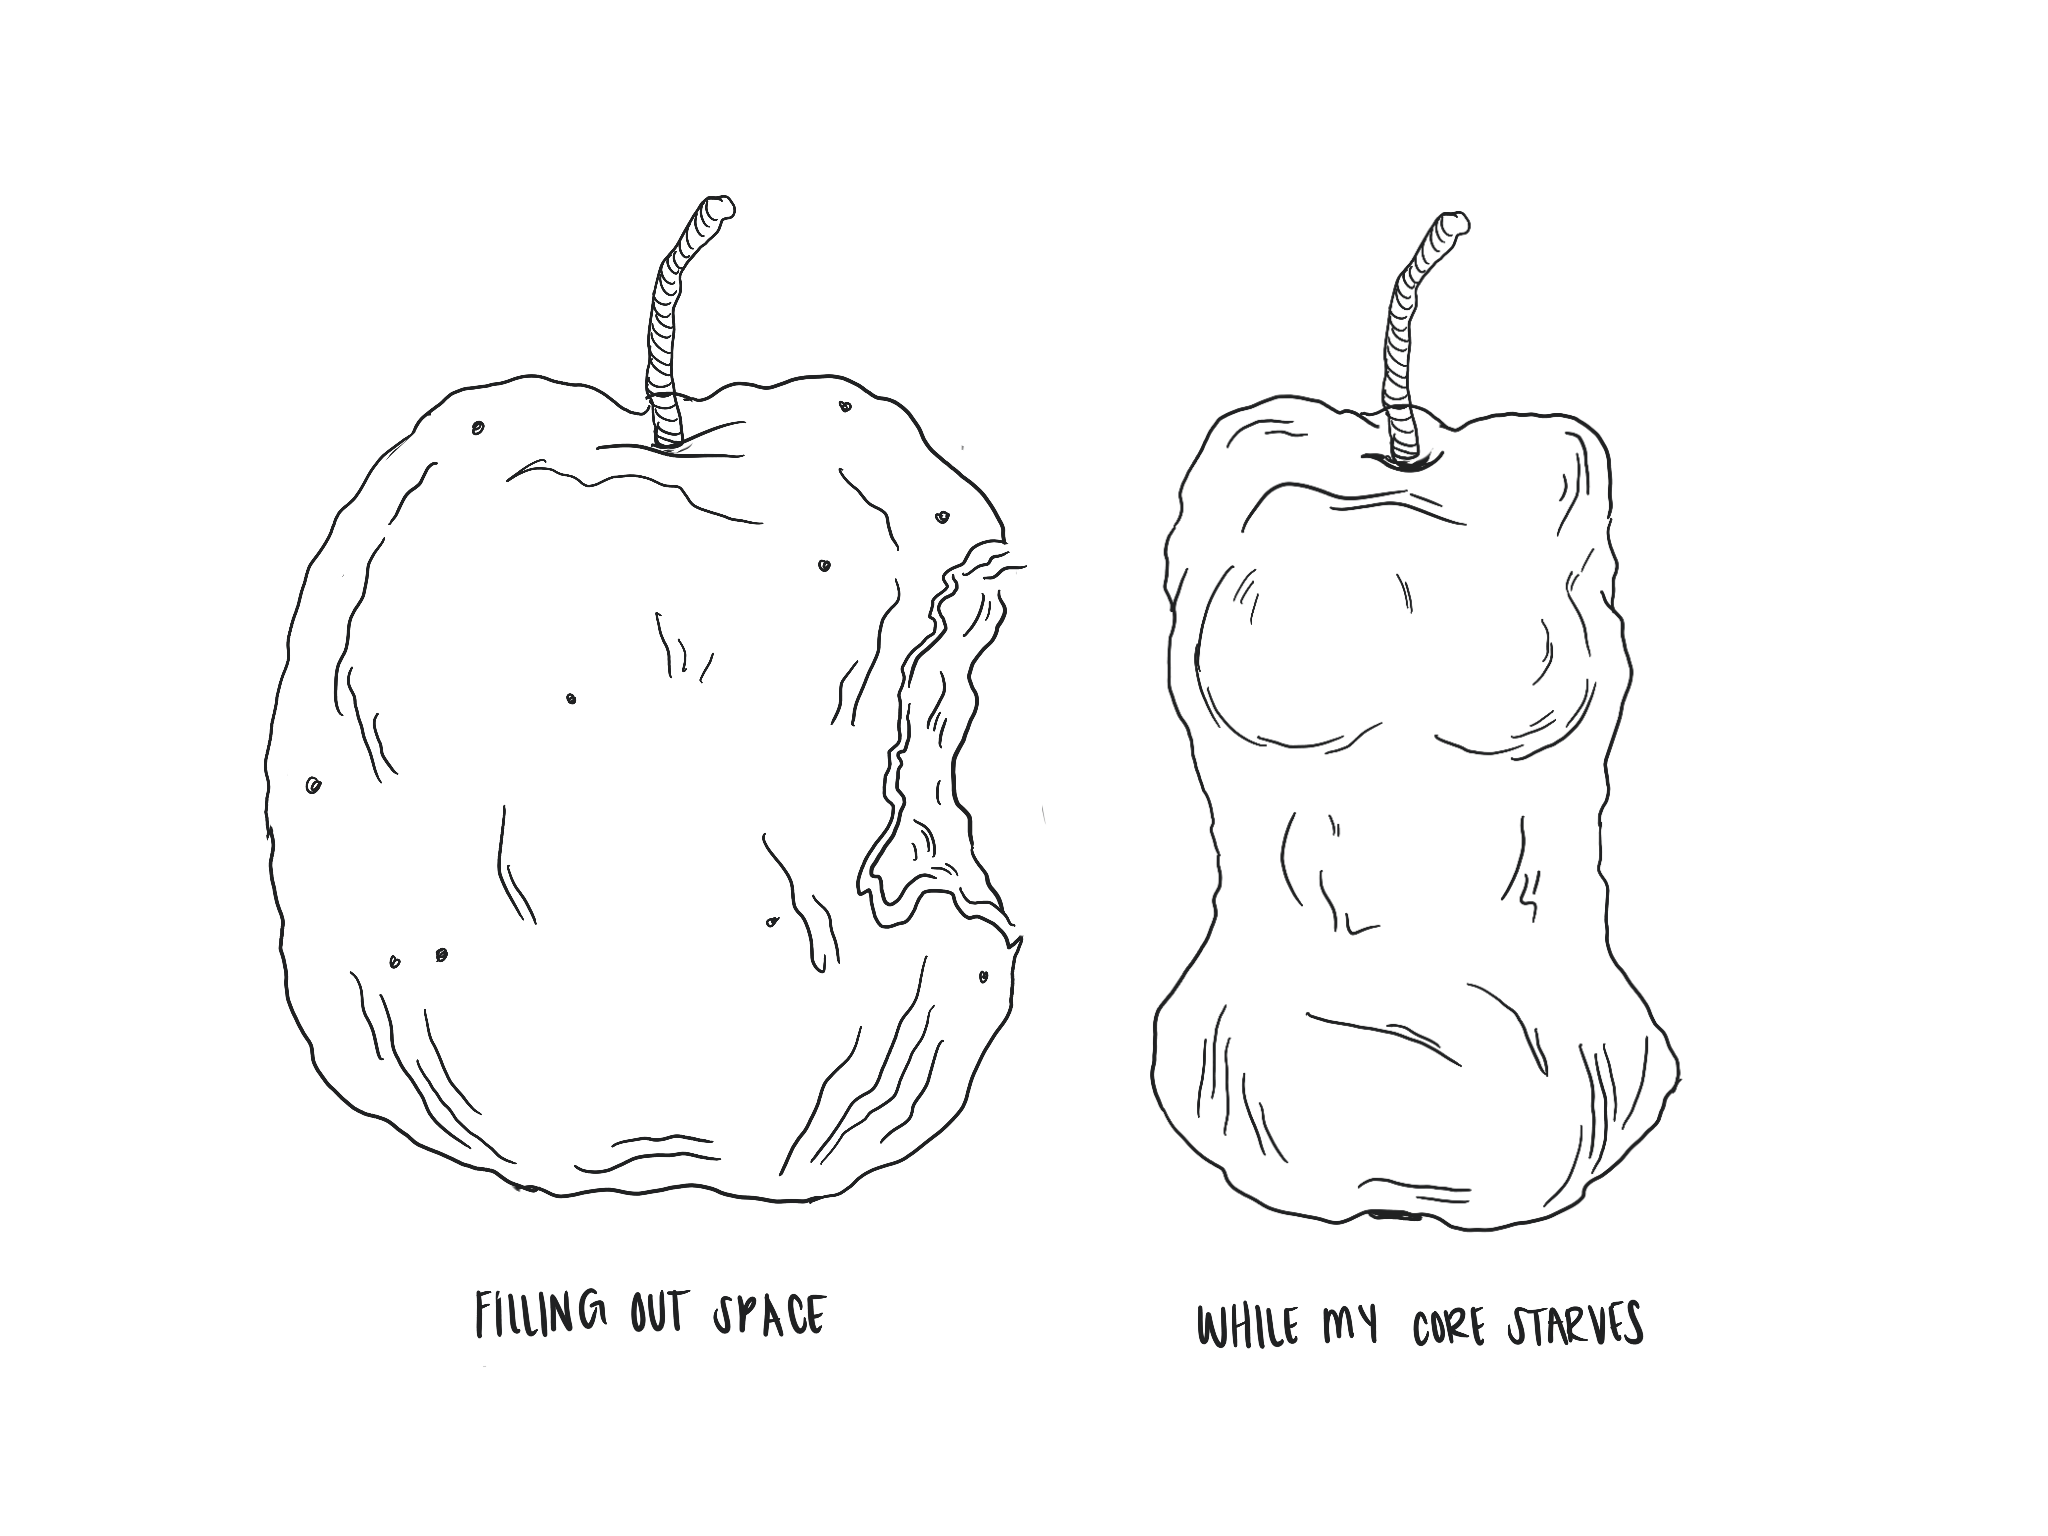
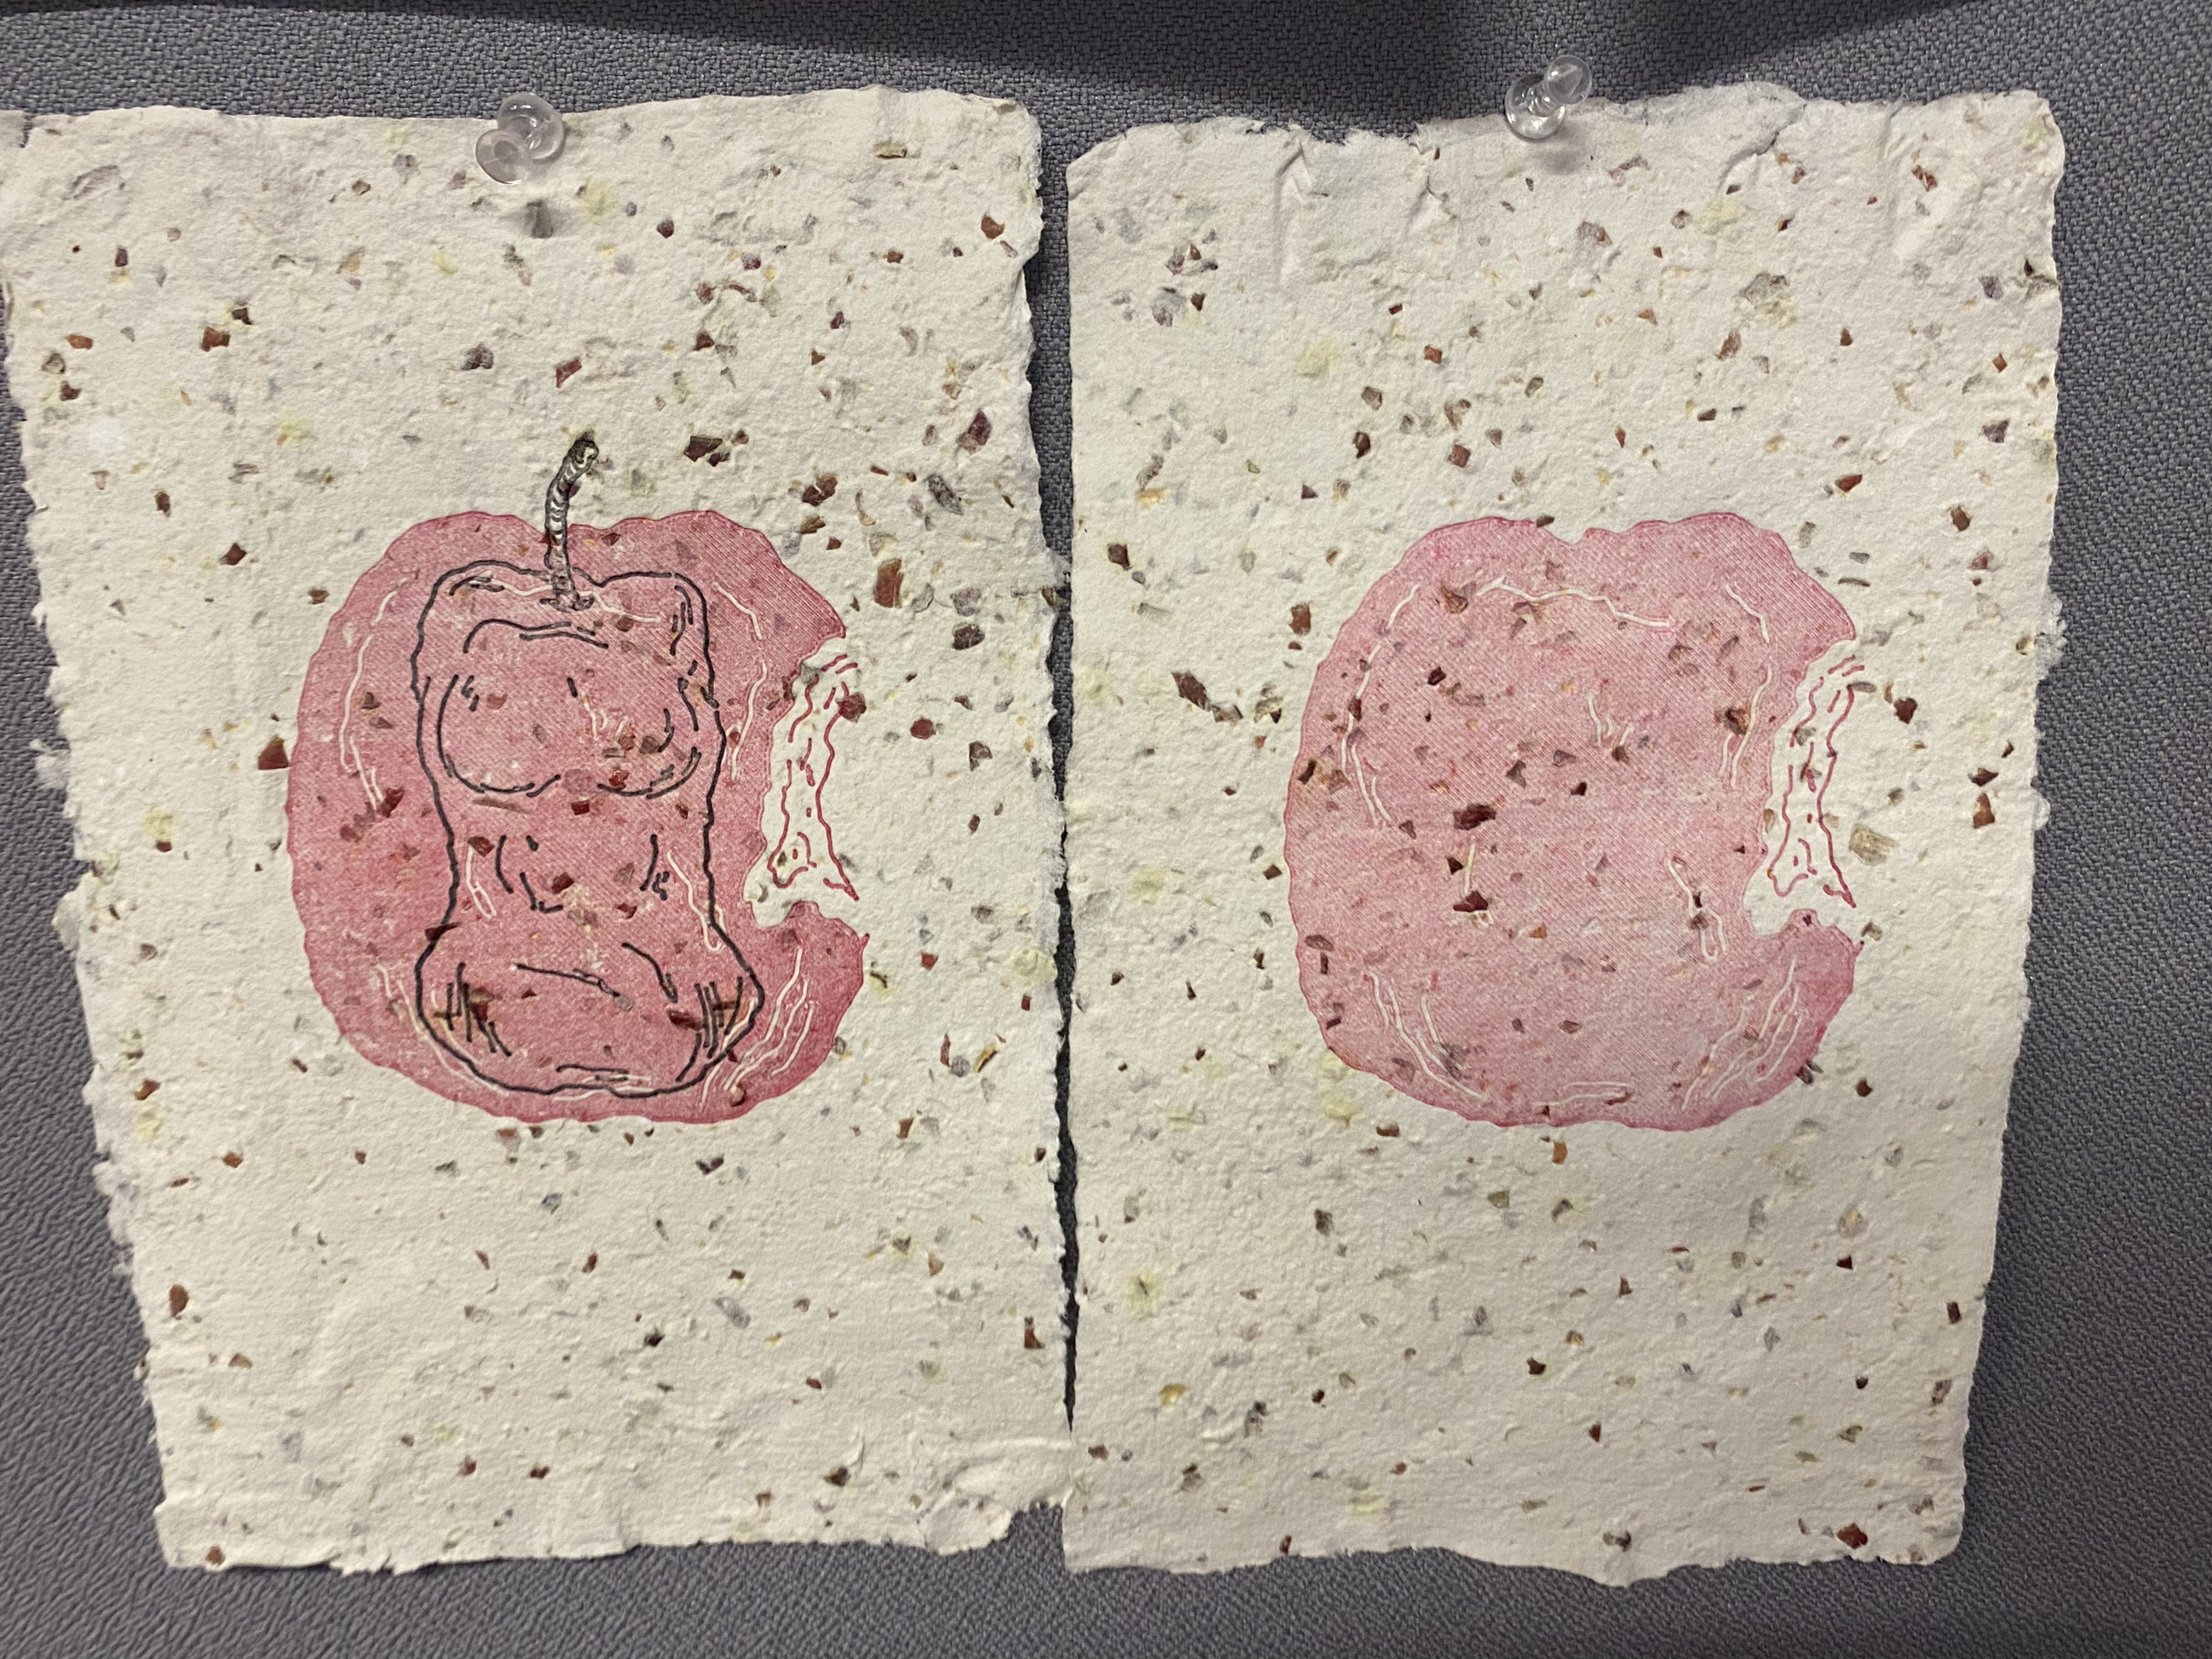
Procreate drawing of the Apple Body (Left) and the Apple Core (Right) with associated text below it.
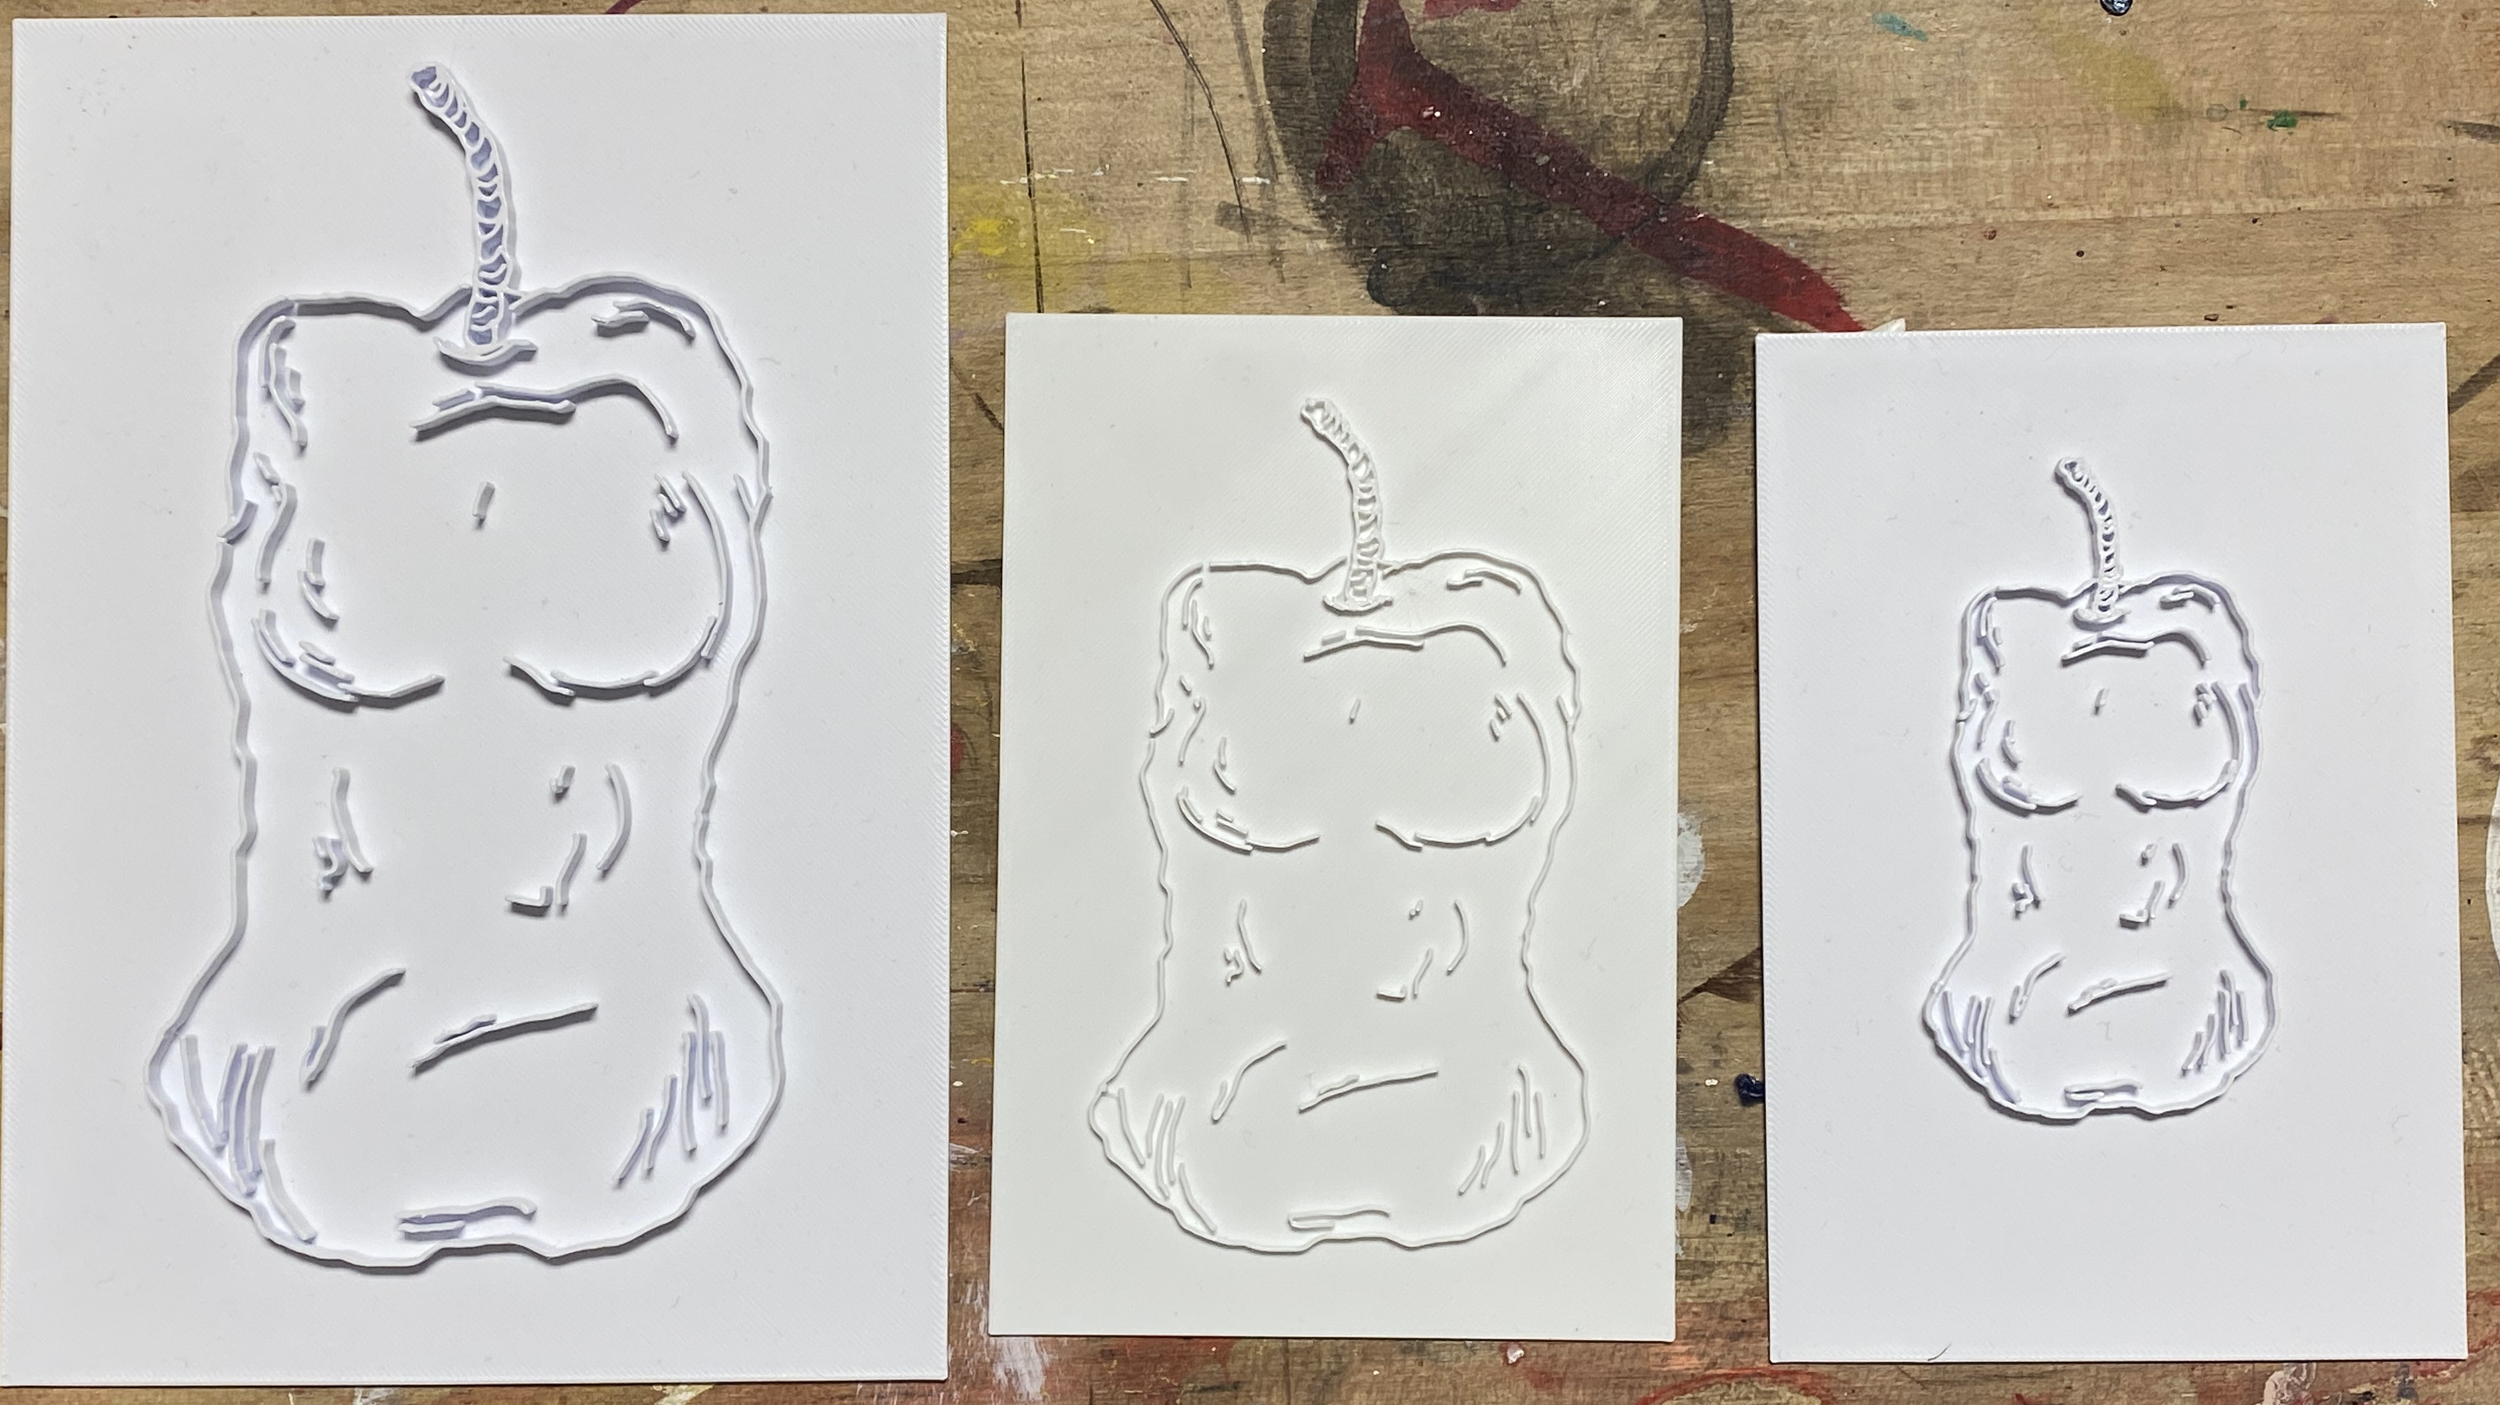
The first mistake was not measuring the size of my homemade paper or the spacing for the images, text, and margins. So, when I was away from my studio and campus for the weekend, transferring my 3D designs to Tinkercad, I had a Goldilocks moment. The first print (the apple core/body) had a 4” x 6” base, with the design being 2 1/4” x 4” (roughly). When I’m working on a laptop and constantly zooming in on my work… I seem to forget what 4” x 6” actually looks like. So that was too small. On the second attempt, I scaled it larger: the base is now 5.5” x 8”, and the design is 3 3/4” x 7”. Later, when it was returned the next morning, it seemed okay. So, I 3D-printed the second design, the apple’s full body, with the same base of 5.5” x 8”, with the design 4.5” x 5.5”. Looking at both designs, I said, “This might be really big.” And it was.
Once I was back on campus and compared the plates to my paper size (6” x 8.5”), I realized I needed to reprint the apple core a third time and the apple body a second time. Allowing for appropriate allowance for margins and text. But with midterms in other classes, I had no time to visit the Innovation Labs and had to wait until Tuesday to work on the Prusa XL and learn how to upload and slice my designs in that software, since I’ve been working with Bambu Lab. Thankfully, Rafael saved the day, helped me with the Prusa XL, and we reprinted my apple core design on Tuesday. With my new knowledge of the 3D printer, I was able to work on it on my own on Wednesday and reprint the apple body.
I went back to the 4” x 6” plates, with the apple core 3” x 5” and the body 3 1/4” x 3.5”.

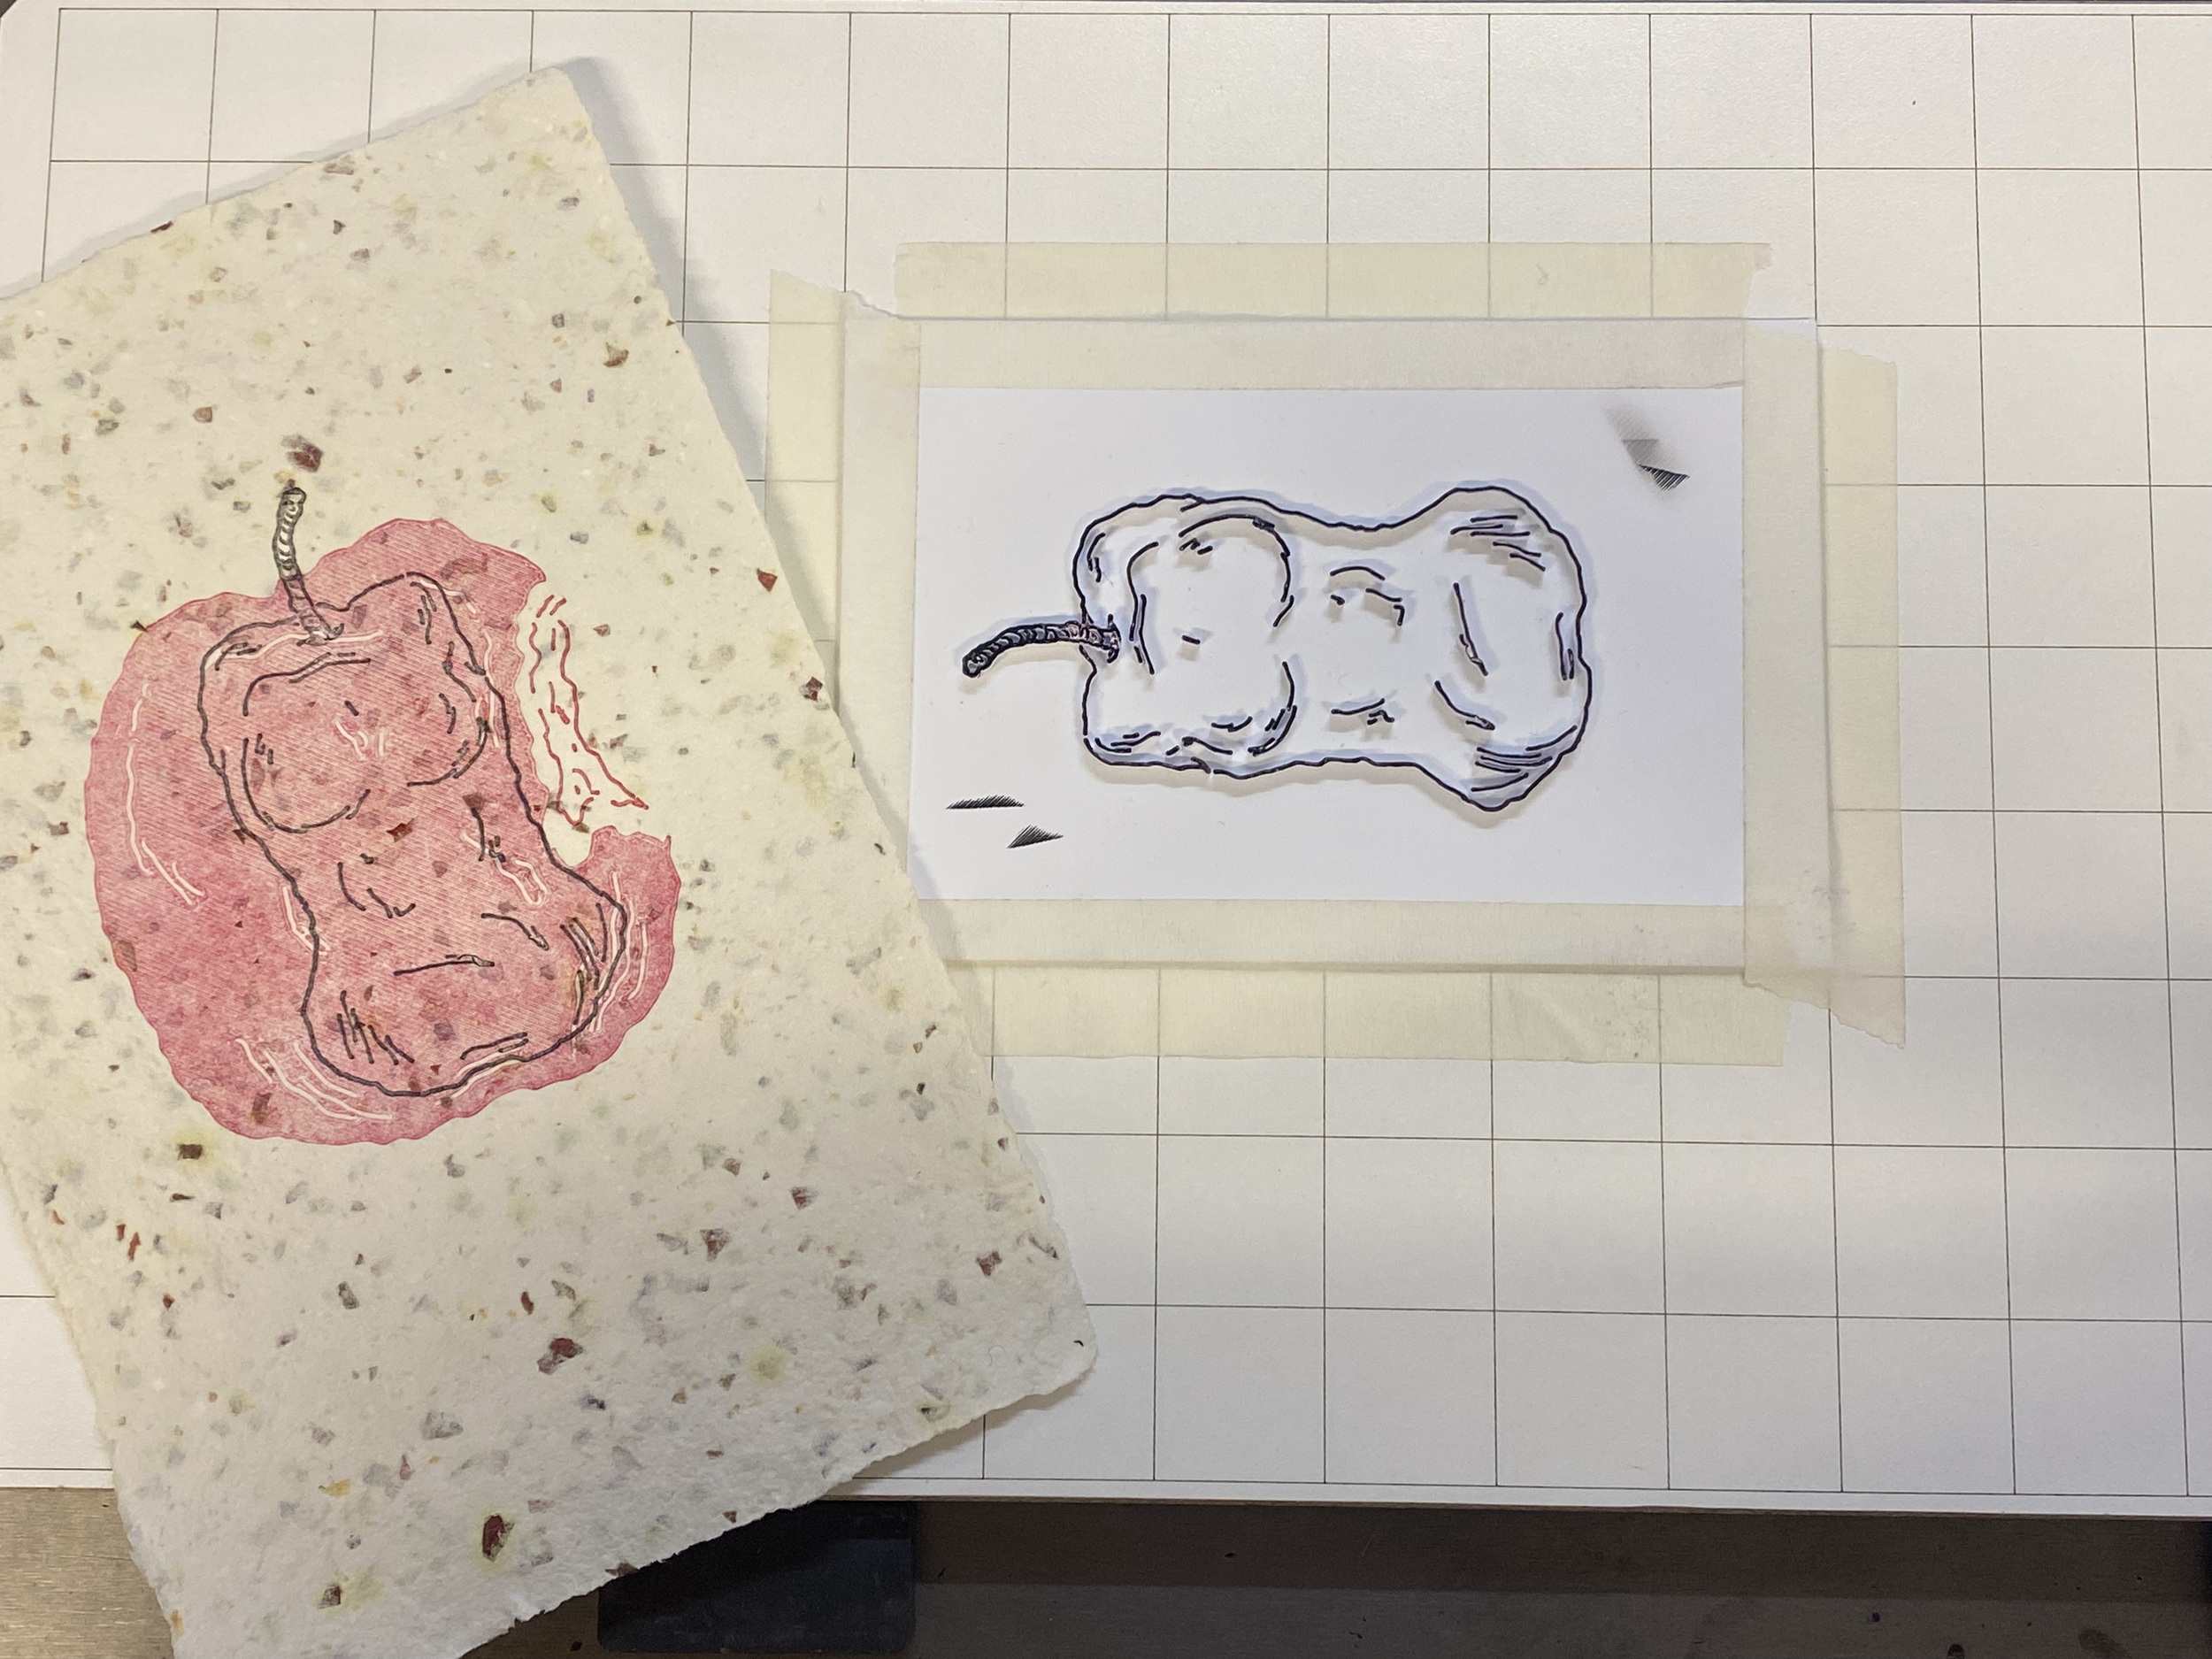
On Thursday, I finally started printing! First, I prepped my paper, fixed my plates on the letterpress, and picked Rubine Red ink (again) for the apple body. The printing process for the body went by in a flash, and I was making great progress. When I finished my editions, I decided to replace the apple body with the apple core on the press. My goal was to ink the core black and layer it onto the red apple body. However, I wanted to test it on a proof, a test version of my finalized versions, to ensure there are no mistakes before full printing production (this is important to remember later).
I realized that for the apple core, I wanted to use the smaller version (the very first 3D-printed plate), instead of the reprinted PrusaXL version, as the height fit better for the apple body. However, I will use the PrusaXL version for the stem (to be completed later), so I’ll tape off the areas to print only the apple stem. Once I finished inking the apple core in black, I laid my proof print/paper on top, added padding, and tried to push the roller to apply pressure to the plate and paper and transfer ink. But… surprise! The measurements were mistaken… again: the apple core was not 2mm tall but over 3mm.
As a refresher on my prototype measurements (see my January 22nd blog post), the base of the plate is 1mm tall, and the topmost surface of the design is 2mm tall. So, to put it simply, being 1.5mm taller made a difference: the roller didn’t roll and bounced off the design. Not wanting to break the press, I got some assistance from Rafael. Luckily, I didn’t have to reprint the design (the first version and size were long gone), and we just removed the metal slate underneath. We were able to print it smoothly! Woohoo!
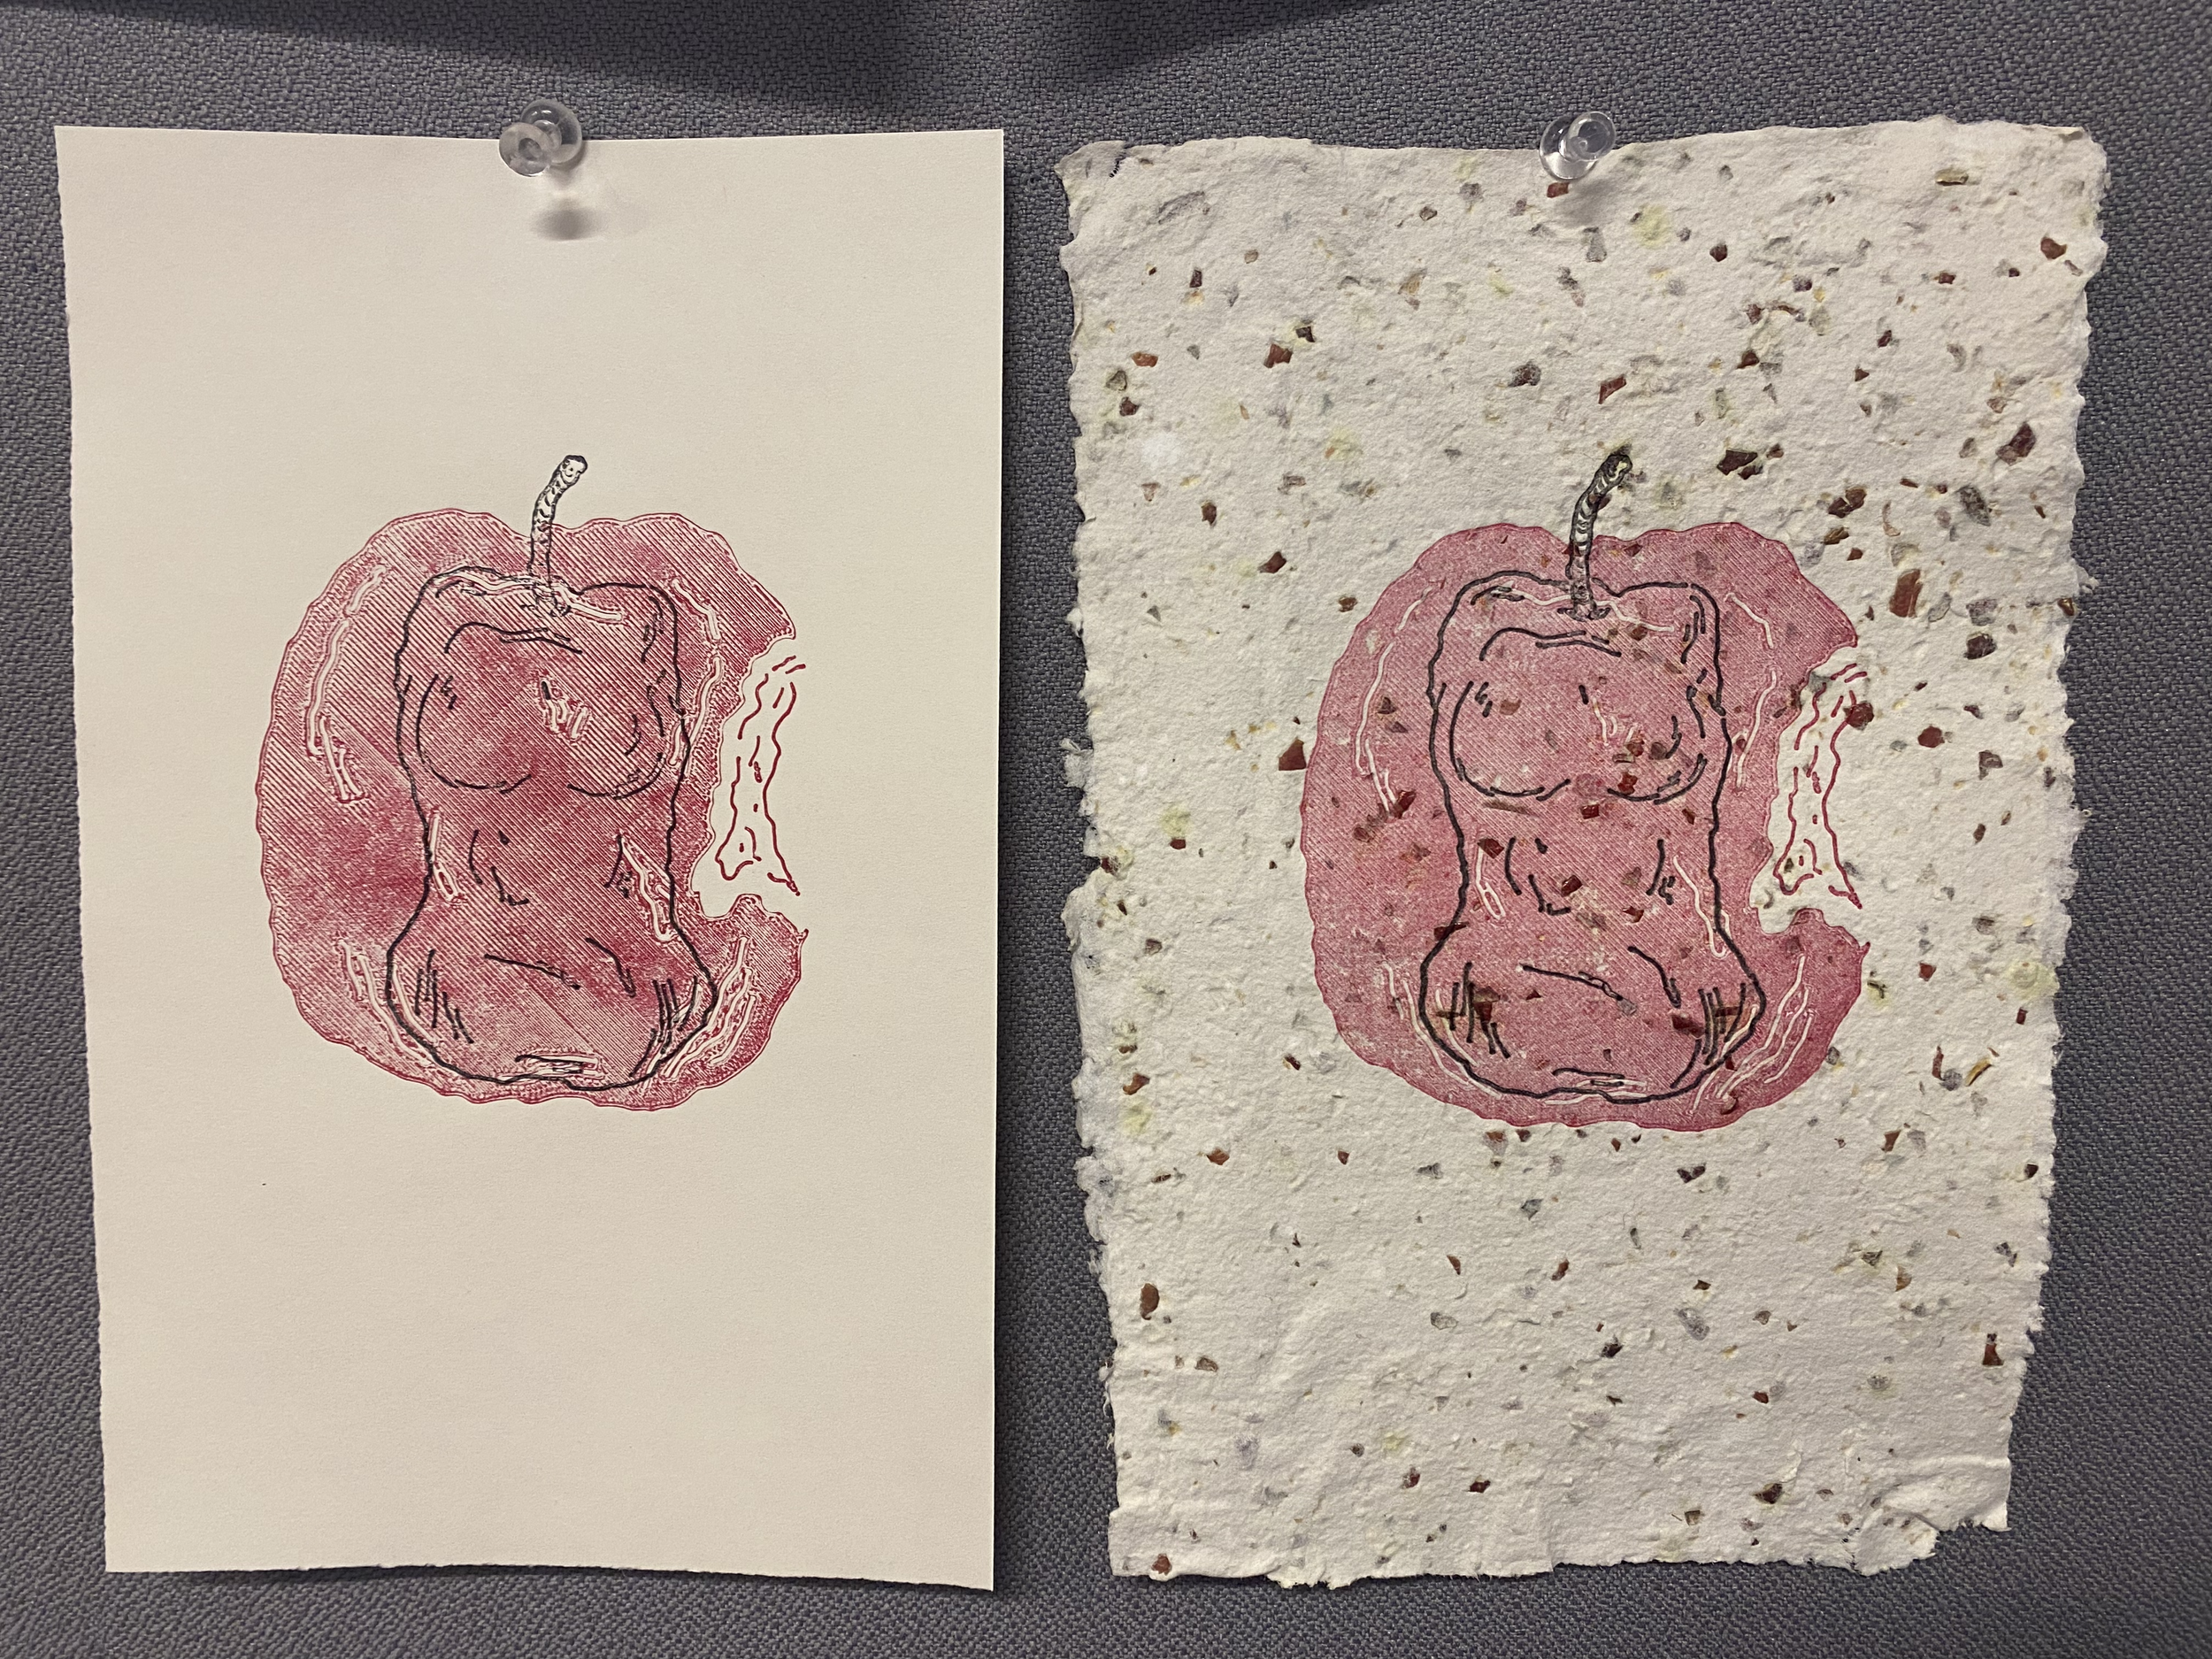

Results of today’s print session:
25 prints total, 18 on Springhill paper and 7 on homemade apple skin paper
13 apple core prints, 12 apple body prints -> 4 apple core on homemade paper, 3 apple body on handmade paper
Subtracting one from each homemade paper total for prints to be displayed on a wall, I will have 3 apple cores and 2 apple bodies on homemade paper
MEANING: I will have 2 homemade paper books (the extra apple core will exist elsewhere) and 8 Springhill paper books, for a total of 10 books!
I hope I did my math correctly, but it seems like this week's theme is that I can’t, haha.
Upcoming To-Do (hopefully):
- Make orange peel paper!!
- Collect edamame skin and sweet potato skin
- Draw the next set of image(s)
- 3D Print images!!
- Prep for Midterm presentation